Channeling my inner Rihanna and bringing yah that cake, cake, cake, cake. Vegan cake, cake, cake, cake.
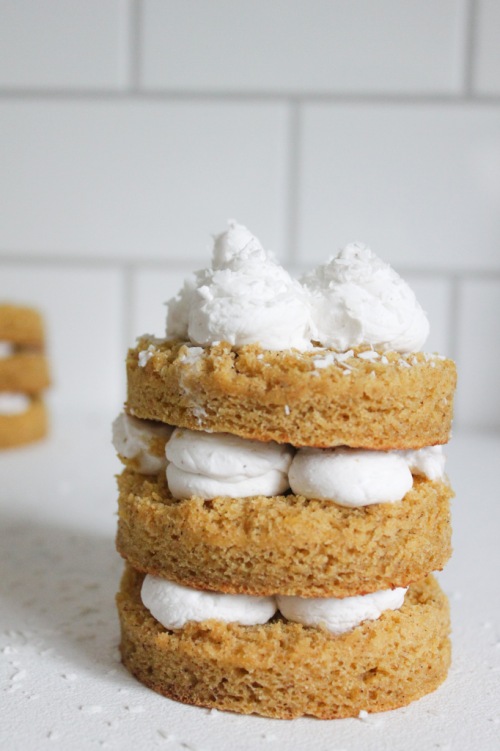
That’s right…Eggless, milkless, and as a bonus – glutenless! No bad foods allowed. A perfect Thanksgiving dessert for the upcoming long weekend!
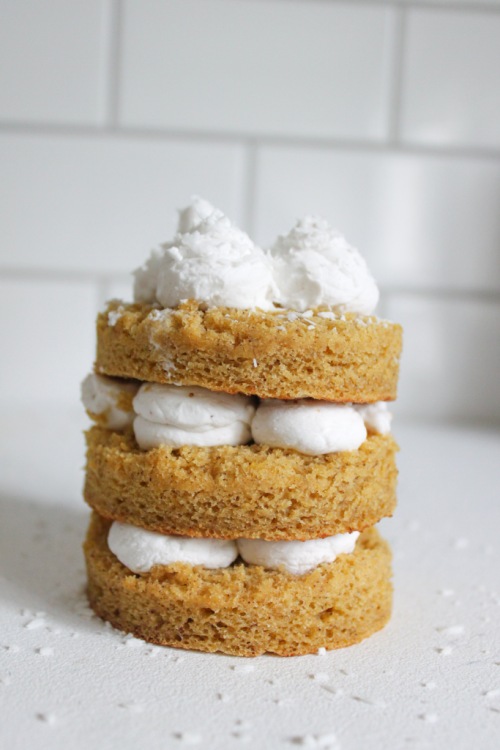
This cake takes minutes to put together, minutes to bake, and seconds to eat. It is moist and fluffy and perfect. You can make individually stacked cakes (as seen in the photos), or you can make one, two-layered cake.
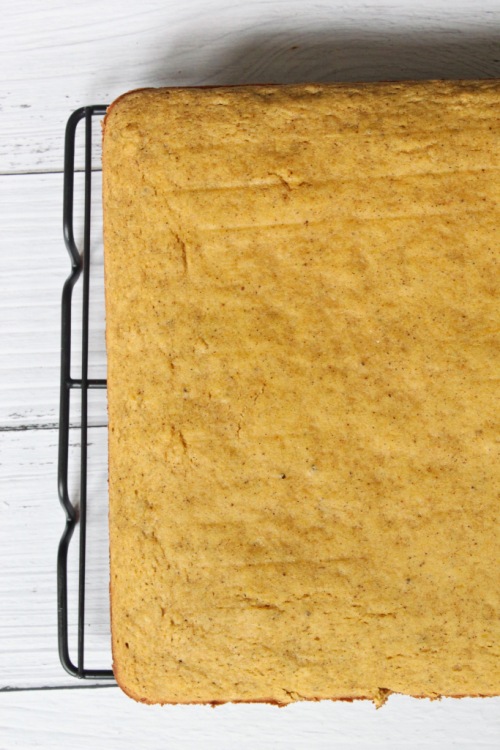
Here is what you will need for the cake:
- My homemade pumpkin puree (or store bought, but it’s just not as fresh)
- Gluten-free flour
- Apple cider vinegar
- Oat milk
- Pumpkin pie spice
- Salt
- Banana
- Brown sugar
- Vanilla
- Baking soda
- Baking powder
For the whipped coconut cream:
- Canned coconut milk
- Vanilla
- Cinnamon
- Salt
- Powdered sugar
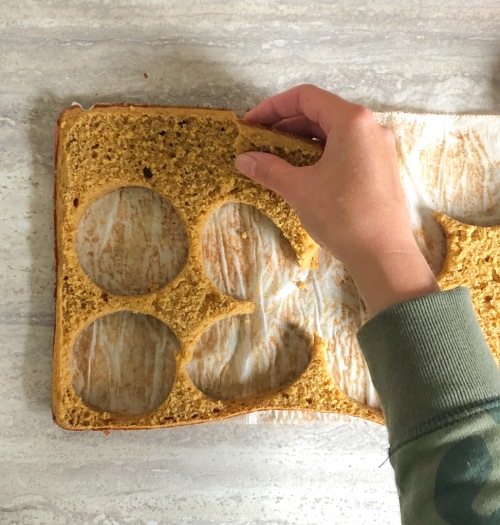
To make the cake, prepare a baking pan by greasing it, lining the bottom with parchment paper and then sprinkling with flour. Combine the apple cider vinegar and oat milk and let sit for 5 minutes. This is a buttermilk substitute, which helps makes the cake fluffy and gives it a bit of a tang. Next, blend all of the ‘wet’ ingredients together – the pumpkin, banana, vanilla and brown sugar. In a separate bowl, sift together the flour, baking soda, baking powder, salt and pumpkin pie spice. Add the dry ingredients and milk mixture to the wet ingredients in four additions, starting with the flour. Pour into prepared baking pan. This will bake for around 12-15 minutes.
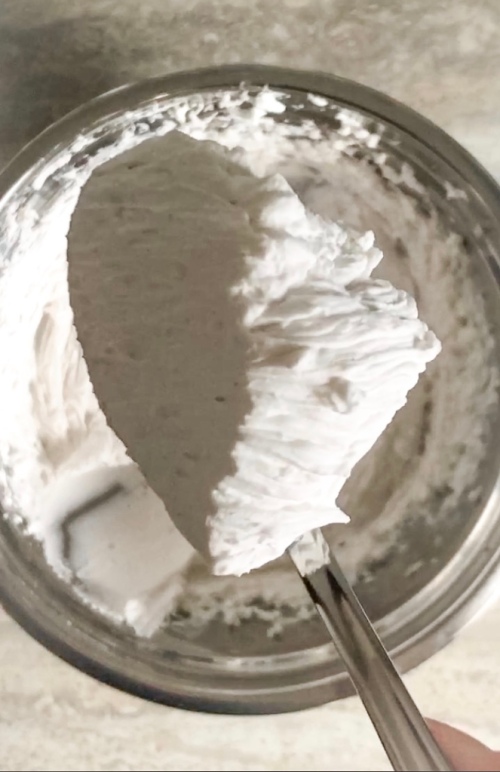
Once cooled, you can assemble you mini cakes (or one large cake) by using a round cookie cutter and cutting out circles to stack on top of one another. Alternatively, you can slice the cake down the middle and create a two-layered cake. This is a good option if you want to feed a larger party.
Baking this cake fills your house with all the smells of Fall and that, my friends, is never a bad thing! Happy baking!
Vegan Pumpkin Coconut Cake
Serving size: Makes three individual cakes or one, two-layer cake
Prep time: 10 minutes
Cook time: 12 minutes
Ingredients:
- 1/2 tbsp apple cider vinegar
- 1/2 cup oat milk (or any plant-based milk)
- 1 cup pure pumpkin (not pumpkin pie filling)
- 1 banana, mashed
- 1/2 cup brown sugar, tightly packed
- 1 tsp pure vanilla extract, separated
- 1.5 cups gluten-free flour
- 1 tsp baking soda
- 1 tsp baking powder
- 1 tsp pumpkin pie spice
- 1/2 tsp salt
- 1 14 oz can full-fat coconut milk (placed in the fridge for at least 24 hours)
- 2 tbsp powdered sugar
- 1/4 tsp cinnamon
- 2 tbsp dried coconut flakes, for topping (optional)
Instructions:
- Preheat the oven to 350 degrees Fahrenheit. Grease a 13 x 9 inch rectangular pan, line with parchment paper and dust with flour. Place a mixing bowl and electric mixer attachment into the freezer (to prepare for the whipped cream).
- Combine apple cider vinegar and oat milk together in a small bowl. Set aside.
- Beat pumpkin, banana, brown sugar and 1/2 tsp vanilla together in a large bowl until smooth.
- In a separate bowl, sift the flour, baking soda, baking powder, pumpkin pie spice and salt together.
- In four additions, add the flour mixture and oat milk to the wet ingredients, starting with the flour, and beating until combined.
- Pour batter into prepared pan and bang the pan on the counter a few times to release any air bubbles. Bake for 12-15 minutes, or until an inserted toothpick comes out clean. Remove from oven and let cool in the pan for five minutes before flipping onto a wire rack to finish cooling completely.
- While the cake cools, make the whipped cream. Remove the bowl and mixers from the freezer and carefully open the can of coconut milk from the fridge. Scoop the solid white part at the top of the can into a bowl (refrigerate the water at the bottom of the can and save for smoothies). Beat the coconut solids on medium speed for 30 seconds. Add the powdered sugar, the cinnamon, the rest of the vanilla and a pinch of salt. Beat for another minute until it is thick and creamy.
- When the cake is cool, use a round cookie cutter to cut out nine circles (or cut the cake in half to make two layers). Spread some of the whipped cream onto the first cut out circle. Top with the second and repeat. Add some whipped cream on top of the third circle and sprinkle with some of the dried coconut, if desired. Alternatively, if making one large cake, spread some of the whipped cream on the first layer of cake, top with the second layer and then dollop the rest of the whipped cream on top. Sprinkle with coconut flakes.
- Serve immediately or store in the fridge for up to 48 hours.