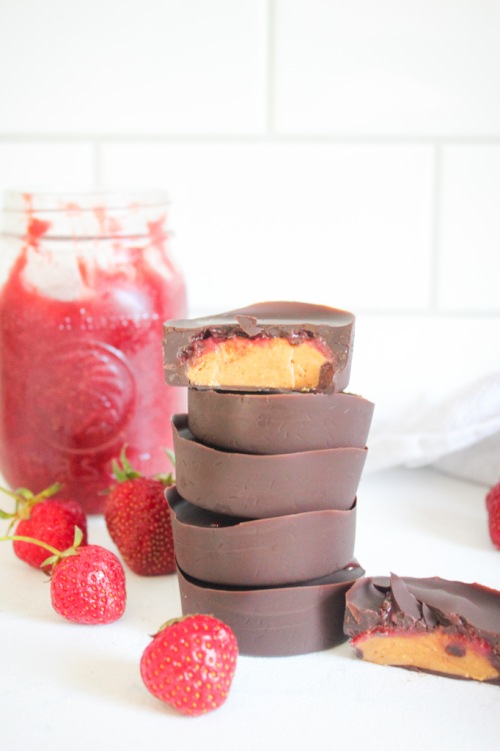
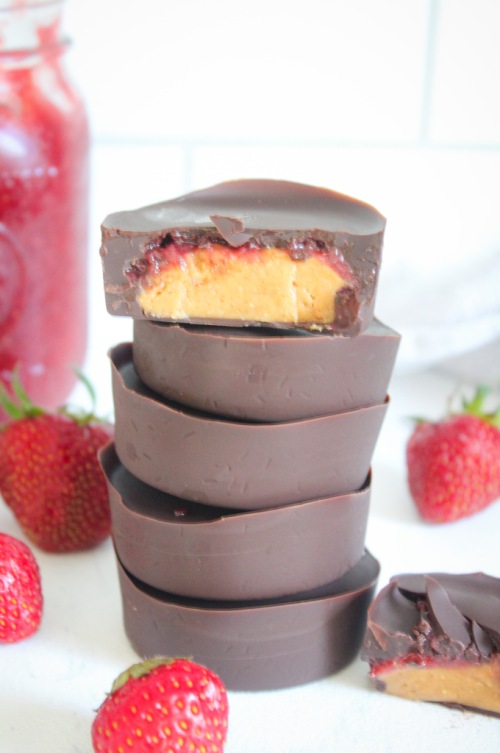
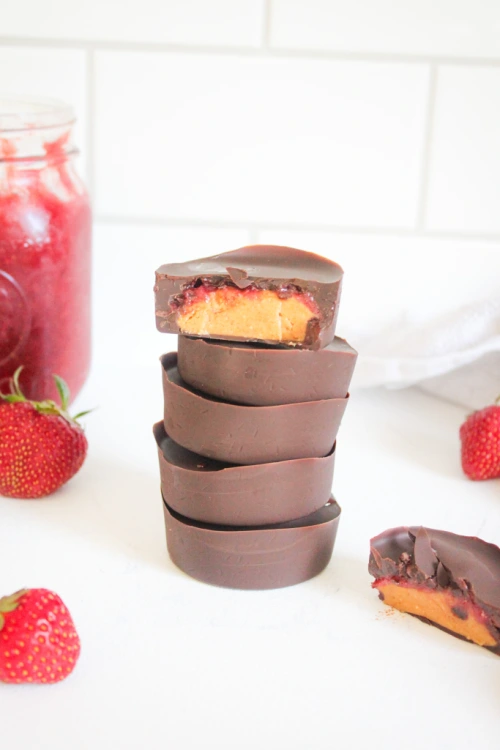
My 100th Instagram post (@nevernoteatingca) had to be something chocolate…The best food group.

I recently posted a Strawberry Rhubarb Jam recipe, and since then have been trying to find different ways of incorporating it into a variety of different dishes. Since peanut butter is jam’s homeboy, I thought, why not add it to my classic 5-ingredient PB cups?!

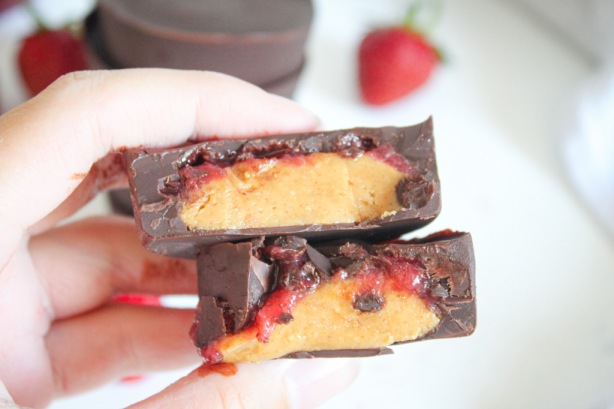
A healthier version of the regular PB cup, with a POW of sweet jam. Yaaasss!

To make these little beauties, you only need:
- Dark chocolate
- Peanut butter (try my Homemade Peanut Butter)
- Maple syrup
- Vanilla
- Coconut oil
- Jam

These take minutes to whip up, minutes to set and seconds to eat. You will not regret it!
Peanut Butter and Jam Cups
Serving size: Makes 12 peanut butter cups
Prep time: 25 minutes
Cook time: 5 minutes
Ingredients:
- 1 cup natural peanut butter
- 2 tbsp pure maple syrup
- 1 tsp pure vanilla extract
- 300 g dark chocolate, separated and chopped into small pieces
- 1 tbsp coconut oil
- 1/4 cup your favourite jam (try my Strawberry Rhubarab Jam)
Instructions:
- In a medium-sized bowl, mix together peanut butter, maple syrup and vanilla until combined. Form into twelve, 1-inch balls and flatten onto a plate lined with parchment paper. Place in freezer while you prepare the chocolate.
- Fill a small pot with one inch of water and place over a burner on medium-high heat. Bring water to a simmer. In a heatproof bowl, add 250 g of the chocolate as well as the coconut oil. Place a wooden spoon in the pot with simmering water and the bowl on top of the pot. The spoon allows the steam to escape. Use a rubber spatula to constantly stir the chocolate until melted. Remove from heat.
- To temper the chocolate, slowly add in the remaining 50 g of chocolate, one small chunk at a time, stirring until melted after each addition. This process takes a bit of time, but helps to set the chocolate properly.
- To a silicone muffin tray (or into muffin liners), pour in enough melted chocolate to just coat the bottom of twelve of the cups. Remove the peanut butter discs from the freezer and place one in each of the cups with chocolate. Add a small dollop of the jam to each one and then top them off with the remainder of the melted chocolate, making sure to completely cover the peanut butter and jam. Refrigerate for 15 minutes to set.
Store these in the fridge and remove a few minutes before serving.