The post Homemade Pumpkin Puree appeared first on Never. Not. Eating..
]]>
WHAT’S THE DIFFERENCE?
The puree from the store often includes preservatives, such as sugar and salt, so I prefer to avoid those additives by making my own. It’s the easiest thing to do, so if you were just thinking “Way too much work,” you’re wrong. Try it!
CHOOSING THE PROPER PUMPKIN
The most important part of this recipe is selecting the appropriate pumpkin variety. Those really big ones that you carve into on Halloween….No bueno. They are really bland in taste, and such a hassle to cut up due to their size. You CAN eat them, but they are not a good choice for pies or any other baked goods that include pumpkin. Your best bet is to find a Pie Pumpkin. They are sweeter and more flavourful and can be used in both sweet and savoury recipes.
I typically hold off on seasoning the pumpkin too much as one pumpkin usually makes a large enough batch to use in both savoury and sweet recipes, and each type of recipe would be seasoned differently. If you are making the puree solely for pie, pancakes, pumpkin spiced lattes, or anything on the sweeter end, you can definitely add some cinnamon and nutmeg to this recipe to jazz it up! On the contrary, you can grind some pepper and add some dried thyme or sage if you plan to use the puree in more savoury-type dishes, like soups or casseroles.
Like I said, pumpkin puree is really easy to make. The most challenging part is just getting your pumpkin cut up! So, grab yourself some sharp knives, and let’s roll!
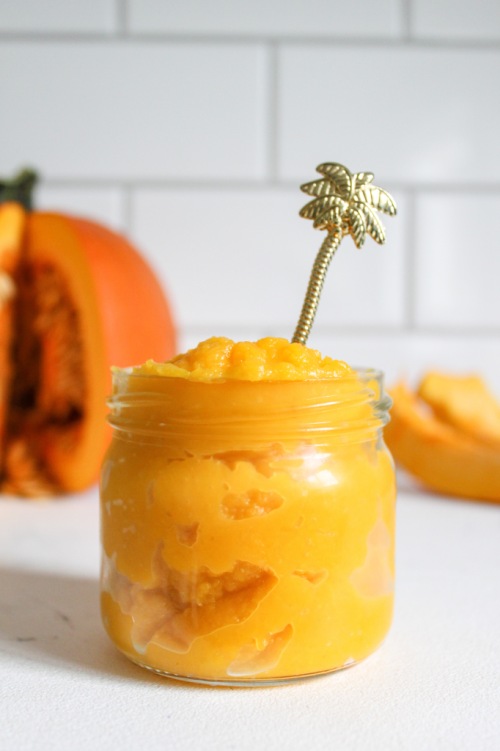
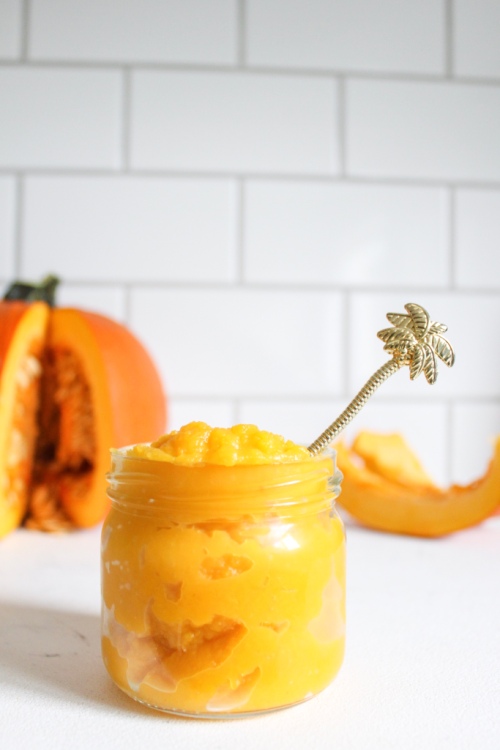
Homemade Pumpkin Puree
Yield: About 3 cups (depending on the size of your pumpkin)
Prep time: 10 minutes
Cook time: 30 minutes
Ingredients:
- 1 pie pumpkin
- 1 tbsp olive oil
- 1/2 tsp salt
Instructions:
- Preheat oven to 375 degrees Fahrenheit.
- Using a sharp knife, cut your pumpkin into 1-inch wedges and remove the seeds. Lay the wedges flat, on a parchment-lined baking sheet. Drizzle them with the olive oil and sprinkle with salt. Use your hands to coat all of the wedges and then bake in the oven for 30-40 minutes, flipping once halfway through. When you can easily pierce a fork through the pumpkin, they are done.
- Let the wedges cool completely on the baking sheet and then remove the skin and discard. Place pumpkin into a food processor and blend until smooth. Transfer to an airtight container and store in the fridge for up to three days. You can also freeze the puree if you wish to use it later.
The post Homemade Pumpkin Puree appeared first on Never. Not. Eating..
]]>The post Sweet Potato Fries appeared first on Never. Not. Eating..
]]>
This is a simple recipe. Simple, yet impactful. It took me a while to nail sweet potato fries. They are tricky little buggers. But, I’ve learned a few tricks along this long and winding road that have helped me up my SPG (Sweet Potato Game). Let me tell you what they are:

Trick #1 – Cornstarch. Dredge these fries with it to help with the crispy-factor. I use this trick with more than just potatoes, too. I ALWAYS sprinkle my tofu with cornstarch before frying it. It’s a surefire way to get that perfect texture on the exterior, and it’s gluten-free!
Trick #2 – Place your baking sheet into a hot oven for five minutes before dumping the SPF (Sweet Potato Fries) on it. When they hit the pan, they automatically start cooking and developing that gorg brown colour. It’s kind of like preheating a pan on your stovetop!
Trick #3 – Space out your SPFs. If you load a pan with too many fries, they won’t have room to crisp up, and will steam instead. Let them socially distance. It’s for the best.
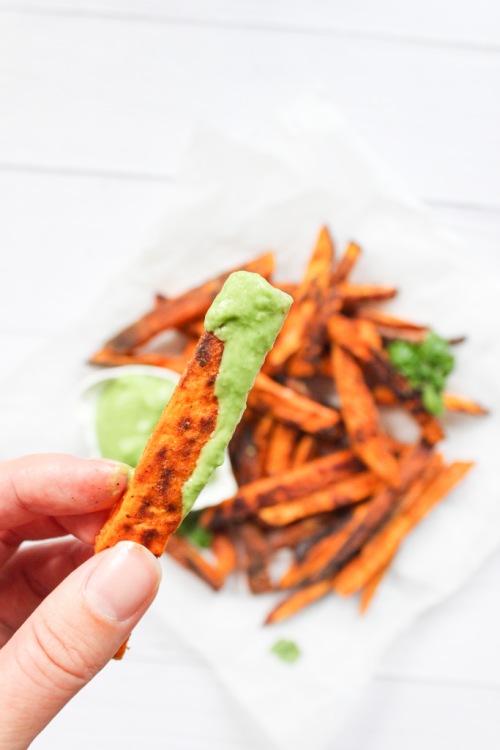
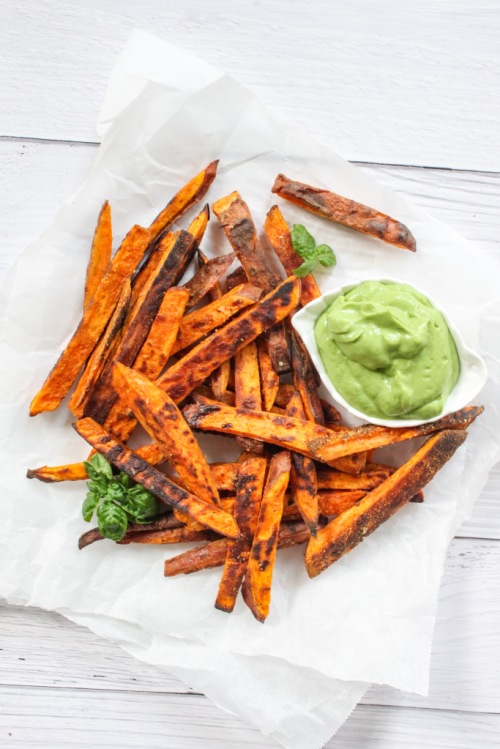
Well, now that I’ve given you all of my tricks, I only have one other thing to say – Dip these babies in my 5-Minute Good-on-Everything Green Sauce. Nothing else compares. Picture crispy sweet ‘tates dunkin’ in a pool of thick and creamy and greeny and herby and…freshy (?) sauce. And, then you eat them. Like, what?! A marriage of two extraordinary foods and memories that will last a lifetime.

If you make these SPF with my 5MGOETGS, take a pic and tag me on Instagram (@nevernoteatingca). I love seeing people make my recipes!
Also, if you understood that last paragraph, I applaud you.
Sweet Potato Fries
Serving size: 2
Prep time: 10 minutes
Cook time: 18 minutes
Ingredients:
- 1 large sweet potato, cut into long, 1/4 inch matchstick slices and patted dry
- 1 tbsp cornstarch
- 1/4 tsp paprika
- 1/4 tsp salt
- pinch of cayenne (optional)
- pinch of fresh black pepper
- olive oil
- sea salt, for topping
Instructions:
- Preheat oven to 425 degrees Fahrenheit. Place a large baking sheet into the oven while it preheats.
- In a small bowl, combine cornstarch, paprika, salt, cayenne and pepper.
- Add sweet potatoes to a large bowl and sprinkle the cornstarch mixture over them. Use your hands to toss the potatoes and dry ingredients together until coated.
- Carefully remove the baking sheet from oven and place sweet potato fries onto it. Be sure to space them out. Lightly drizzle some olive oil over the fries to help them crisp up.
- Bake for 10 minutes, flip and return to oven for another 5-8 minutes, or until browned and crispy.
- Finish with some flaky sea salt and serve with my 5-Minute Good-on-Everything Green Sauce.
The post Sweet Potato Fries appeared first on Never. Not. Eating..
]]>