The post 5-Ingredient Peach Crisp appeared first on Never. Not. Eating..
]]>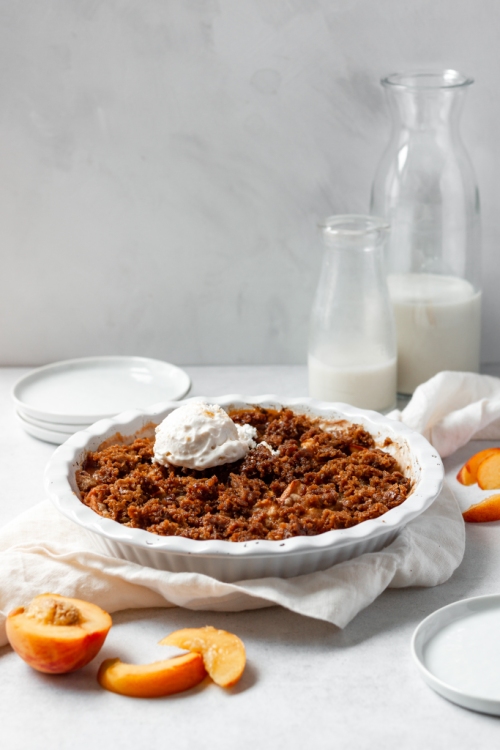
My mom used to make the best apple crisp growing up and it was my absolute favourite post-dinner treat. Since peaches are in season (in Ontario), I decided to make a peach crisp instead, and it did not disappoint. Take your girl up to the north, yeh, for those Canadian peaches! I hope you are a Justin Bieber fan, otherwise this post will make absolutely zero sense to you. And also, we cannot be friends if you aren’t (joking) (not really).
As the name suggests all you need are FIVE simple ingredients:
- Peaches
- Brown sugar
- Flour
- Lemon juice
- Butter
The simplicity of this recipe is insane, making it the easiest, most delicious dessert on the fly. It’s also perfect for a summer BBQ or outdoor gathering. Let’s make some peach crisp!
This post contains affiliate links and I may earn a small commission when purchases are made after clicking the links, at no cost to you. Thank you for supporting me!
5-Ingredient Peach Crisp
Serving size: 5-6 people
Prep time: 10 minutes
Cook time: 35 minutes
Ingredients:
- 3/4 cup brown sugar
- 1/2 cup all-purpose flour
- 1/4 tsp salt
- 1/2 tsp cinnamon powder (optional)
- 6 tbsp cold butter, cubed
- 4 large peaches (approximately 6 cups), washed and cut into 1/2-inch wide slices
- 1.5 tbsp lemon juice
Instructions:
- Preheat oven to 375 degrees Fahrenheit.
- In a medium bowl, combine brown sugar, flour, salt and cinnamon (if using). Use your hands or a pastry cutter to incorporate the cubed butter until it resembles large crumbs. Place the bowl in the freezer while you prepare the peaches.
- Place peaches into an 8-inch baking dish or cast iron pan. Pour the lemon juice over top and use your hands to toss the peaches around.
- Top the peaches with the crumble, making sure it is evenly spread across the top.
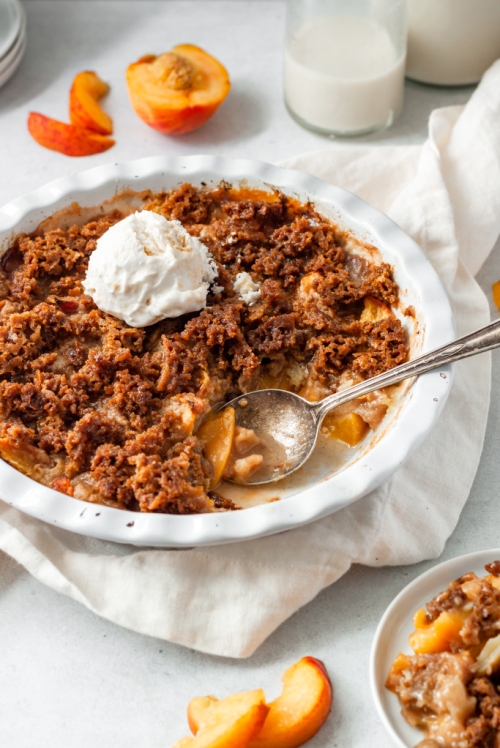
- Bake for 30-35 minutes, or until the top begins to turn golden brown and crispy.
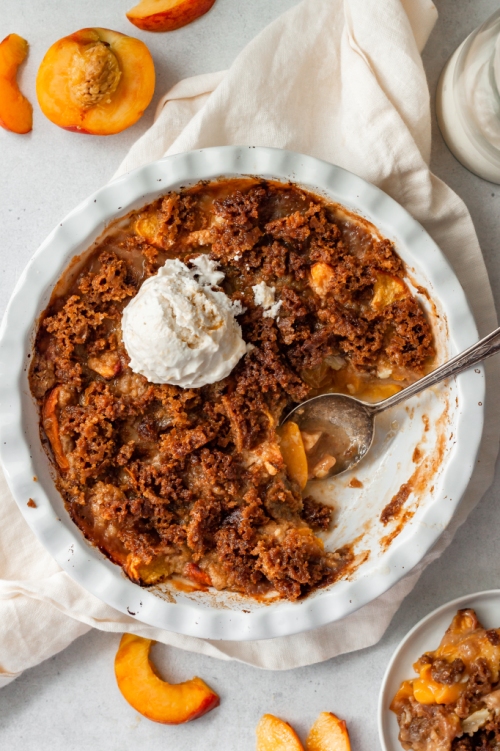
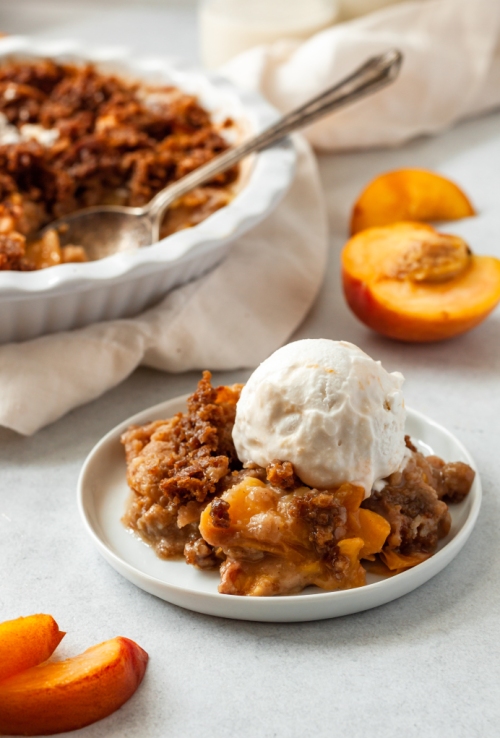
Serve warm and with a scoop of vanilla ice cream. Store in an airtight container for up to 2 days.
The post 5-Ingredient Peach Crisp appeared first on Never. Not. Eating..
]]>The post Coconut Lime Cilantro Rice appeared first on Never. Not. Eating..
]]>
I traveled to SE Asia during the summer of 2017. Those were the days, man. It was like 6 weeks of pure foodie inspiration. Rice, curries, fresh fruit, toasties from the 7/11…If you know, you know.
The abundance of carbs I ate while there was record-breaking, and the best part is, I didn’t gain a pound…I actually lost weight. Afterall, you step outside and instantly sweat off a few kilos in the 50-degree weather. And now, I have a plethora of different rice dishes under my belt!
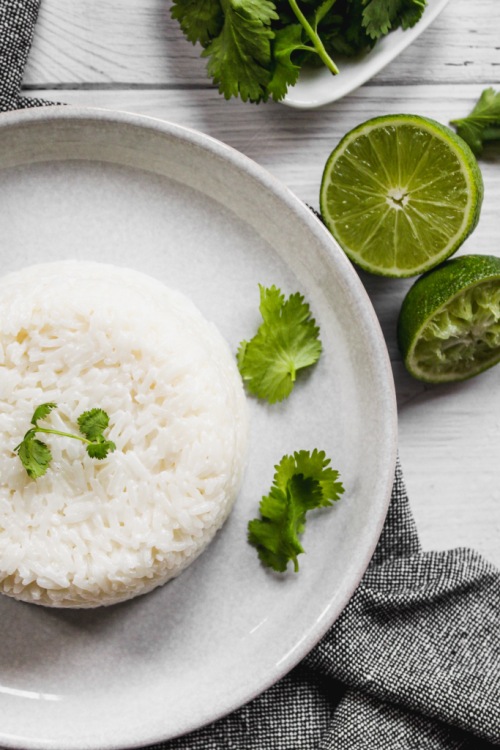
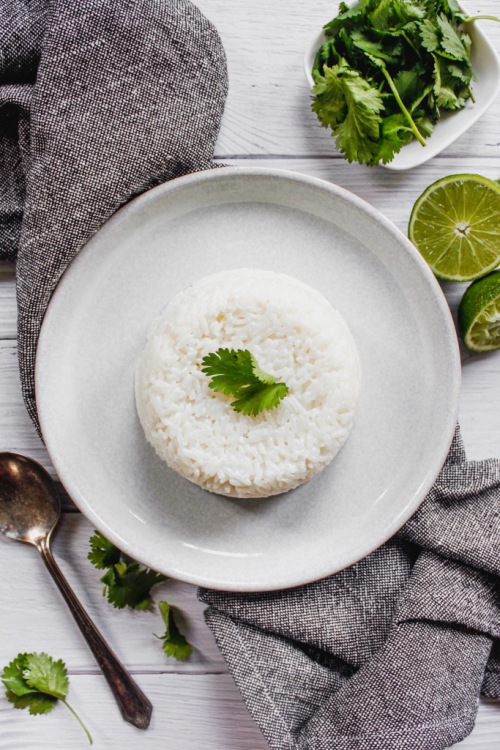
So let’s chat about this coconut rice dish. I just love coconut ‘er-thang! This rice makes for a perfect side dish to any meal – It has a creamy quality to it and it takes minutes to whip up. Here is what you will need:
- jasmine rice
- coconut milk
- salt
- lime
- cilantro
Let’s get started!
Coconut Lime Cilantro Rice
Serving size: 3-4
Prep time: 5 minutes
Cook time: 10 minutes
Ingredients:
- 1 cup jasmine rice
- 1 cup canned coconut milk
- 1 cup water
- salt
- juice of 1/2 lime
- 2 tbsp fresh cilantro, chopped
Instructions:
- Add rice, coconut milk, water and a generous pinch of salt to a saucepan and bring up to a boil. Turn heat to low, cover and simmer for 10 minutes (or according to rice package directions).
- Remove from heat and add the lime juice and cilantro to the rice, fluff with a fork to combine.
- Serve immediately.
NOTES:
*Add a touch of honey to the rice while cooking for a hint of sweetness.
The post Coconut Lime Cilantro Rice appeared first on Never. Not. Eating..
]]>The post Chocolate Hummus appeared first on Never. Not. Eating..
]]>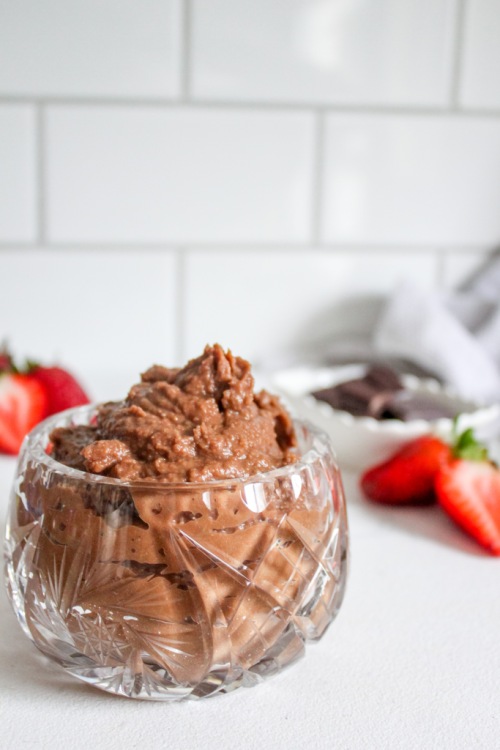
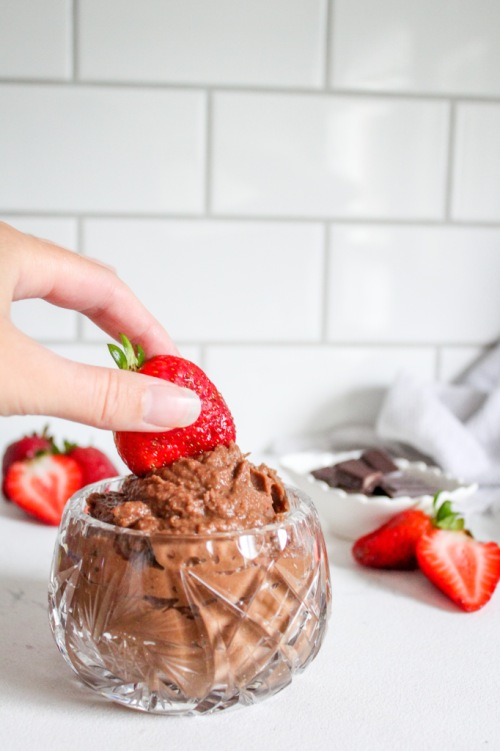
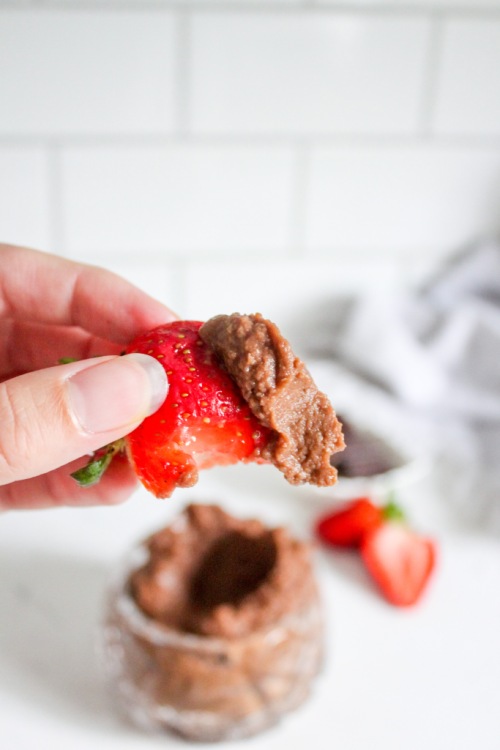
Y’all know I love a good healthy snack, and this is that. Full of protein, fibre, iron and CHOCOLATE. How do you eat chocolate hummus, you ask? Well, if not by the spoonful, then perhaps with fruits, on toast or alongside some salty pretzels. Follow your heart.
Here is what you will need for this recipe:
- Chickpeas (I always use dry chickpeas that I soak overnight and cook for an hour – they make dips much smoother than the canned stuff)
- Cocoa powder
- Maple syrup
- Vanilla
- Salt
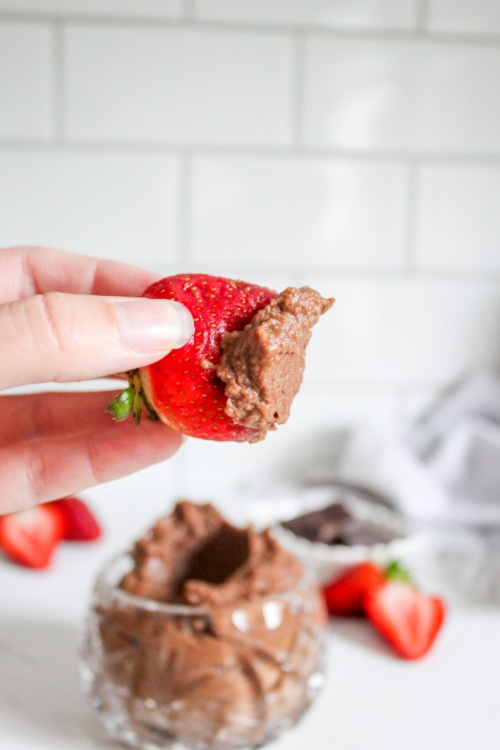
This recipe is flexible, depending on your taste. If you love chocolate, you can choose to add more cocoa powder, or if you would like a subtler chocolate flavour, add less. Same with the sweetness level. If you enjoy really sweet desserts, add more syrup. If you are like me and prefer less sweet, add the amount you see in the recipe.
Let’s do the damn thing!
Chocolate Hummus
Serving size: Makes about 1 cup
Prep time: 5 minutes
Inactive time (for soaking): 8 hours
Cook time: 1 hour
Ingredients:
- 3/4 cup dry chickpeas (or 2 cups canned, rinsed very well)
- 3 – 4 tbsp cocoa powder
- 3 tbsp maple syrup (or more, to taste)
- 1/2 tsp pure vanilla extract (optional)
- 1/4 tsp salt
Instructions:
- If working with dry chickpeas (recommended for a smoother consistency), cover chickpeas with two inches of water and soak overnight. Drain, rinse and transfer to a medium-sized pot. Cover with two inches of water and bring to a boil. Reduce heat to a rolling simmer and cook chickpeas, lid off, for one hour or until tender. If working with canned chickpeas, skip this step.
- Add cooked chickpeas to a food processor, along with three tablespoons of cocoa powder, the syrup, salt and the vanilla, if using. Blend until smooth, scraping down the sides of your food processor every so often. Taste and add more cocoa or syrup, if desired.
- Transfer hummus to an airtight container if not serving immediately and store in the fridge for up to four days.
The post Chocolate Hummus appeared first on Never. Not. Eating..
]]>The post Stovetop Parmesan Popcorn with Lime Salt appeared first on Never. Not. Eating..
]]>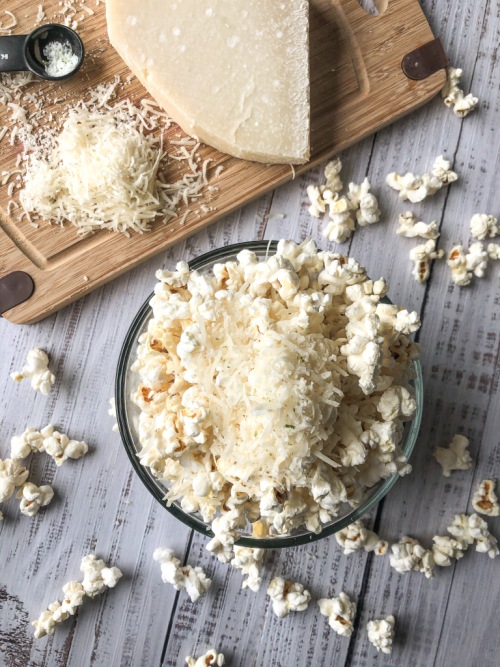
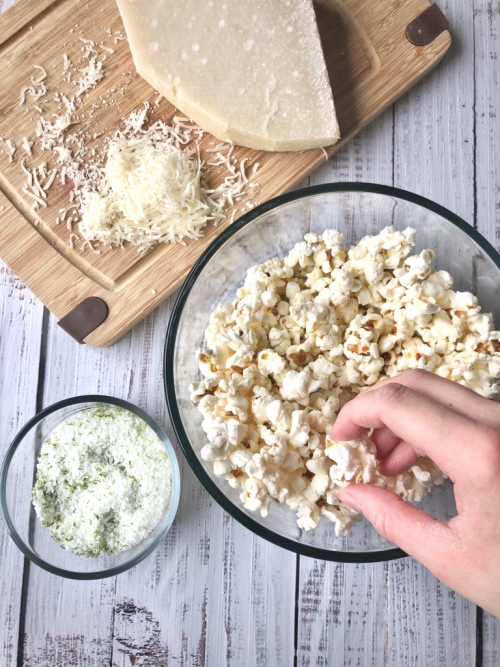
Okay, firstly, can we all agree that salt is the greatest natural resource ever discovered? I cannot and will not make food without it. And popcorn and salt are best friends. This recipe has a double hit – salty, nutty parm and zesty, fragrant lime salt. This is what my heaven looks like. Gimme all the salt!
Let’s talk about the popcorn. I’m sure that 99% of the world uses a microwave when making popcorn. Let’s face it, we are a world that loves convenience and microwaved popcorn is quick and easy when you need an immediate snack. However, those of us who do not own a microwave would still like to enjoy the occasional bowl of pop and believe it or not, the original way of making popcorn is not in a microwave…so it is possible to cook it stovetop! Did you know that Canada’s First Nation Peoples taught the European settlers how to pop corn? It’s true guys…My students always love learning about this in class.
Okay, this is super easy. All you need is some fat (depending on you, it could be butter, olive oil, coconut oil, etc.) and some fresh kernels, found here. If you are like me and love shopping in bulk, check out a larger quantity here. They will last forever! If you do have a microwave, and think you may want to try stovetop, but also want the convenience of the microwave cook time now and again, you can always buy the microwave packs and open them up, using the kernels in the same way on your stovetop!
Lime salt – Lime salt is lime and salt mixed together and dried out in the oven. And it’s good. If you make a bunch, you can have it readily available to put on everything. Some of my favourite dishes to top with this seasoning are: avocado toast, salad, buddha bowls, and uhm, everything. Grab about 1/4 cup of coarse sea salt and the zest of two limes. Mix together and spread out on a baking dish lined with parchment. Pop in the oven on the lowest temperature, around 170 degrees Fahrenheit for an hour and a half, or until the zest has dried out. If you do not have this kind of time, just skip the dehydration part and put the darn salt and zest on your popcorn as is. Still delicious!
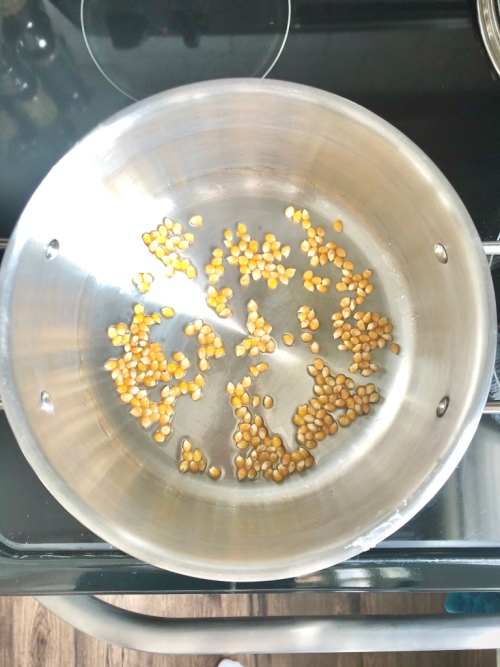
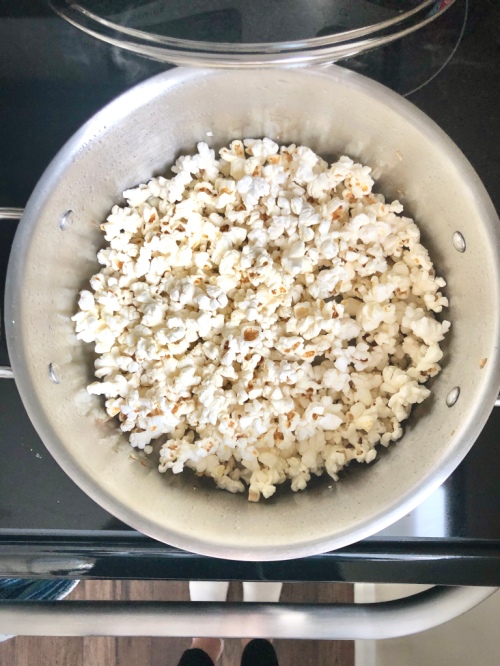
Alright let’s pop. First thing’s first, grab the largest pot you own. Make sure it has a fitted lid. Prep all of your toppings so they are ready to throw on when the popcorn is done, and still warm in the pot. When ready, place your pot on a burner over medium heat and add a tablespoon of coconut oil (or butter, or olive oil) to it. Dump in 50 g or 1/4 cup of kernels. This will make one serving, according to Orville Redenbacher. It is a portion that makes me very happy. If there are a few of you snacking, double the oil and kernel amount. Toss your kernels around so they become coated in the oil. Place the lid on, leaving it open slightly. As your pot begins to heat up, shake it every so often to prevent the kernels from burning. As soon as you see the first kernel pop, close the lid completely and shake away. This would be a lot of fun for kids! Keep shaking the pot frequently until the popping slows. Remove the pot from the burner and quickly toss in most of the parmesan, closing the lid again and letting it get melty and gooey. Do not stir as you don’t want the cheese to melt on the bottom of the pot instead of on the popcorn. After a few seconds, open the lid and add the lime salt. Transfer to a big bowl and top with the remaining parm, and a little more salt if you are like me. Eat with Netflix. Or don’t, your call.
Stovetop Parmesan Popcorn with Lime Salt
Serving size: 1
Prep time: 5 minutes
Cook time: 5 minutes + 1.5 hours for the lime salt (optional)
Ingredients:
- 1/4 cup coarse sea salt
- zest of 2 limes
- 1/4 cup fresh parmesan, grated, plus more for topping
- 1 tbsp coconut oil (or other oil of your choice)
- 1/4 cup popcorn kernels
Instructions:
- Preheat oven to lowest temperature (or 170 degrees F).
- Combine the salt and zest in a bowl and then spread out onto a baking sheet lined with parchment paper. Dehydrate in the oven for 1.5-2 hours, or until zest has completely dried out. *You may skip this step if you are in a hurry and just top the popcorn with salt and fresh lime zest.
- In a large pot, add coconut oil and popcorn kernels. Stir to coat the kernels and turn the heat on to medium-high. Place a lid on the pot, but leave a small opening. Shake the pot every so often to prevent the kernels from burning. When you see the first kernel pop, close the lid fully and continuously shake the pot until popping slows. Remove from heat. Quickly open lid and throw in the parmesan. Close the lid and let melt for a few seconds (do not stir). Open the lid and transfer popcorn to a bowl. Add the lime salt while still hot and top with more parmesan if desired. Enjoy!
The post Stovetop Parmesan Popcorn with Lime Salt appeared first on Never. Not. Eating..
]]>The post Brown Butter Nutty Granola appeared first on Never. Not. Eating..
]]>- Christmas is coming
- You need a hostess gift
- You like nuts
Truly – this is the best, most perfect, thoughtful, fast, easy, cheap and delicious gift that you could give to someone for hosting you over the holidays. I wouldn’t lie to you. Scout’s honour.
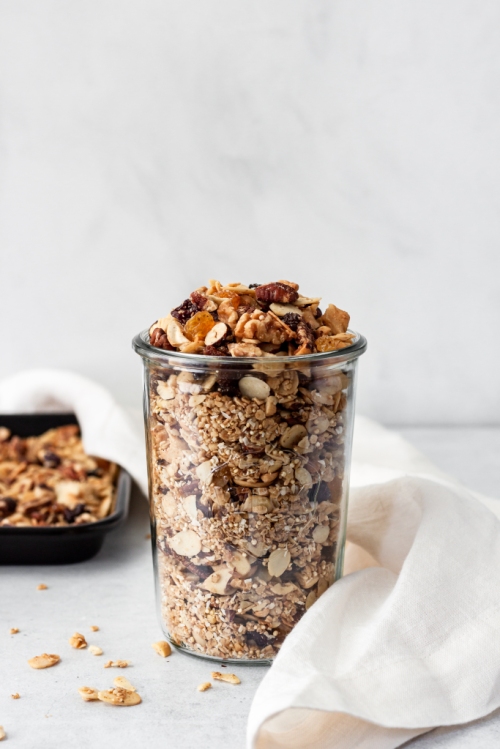
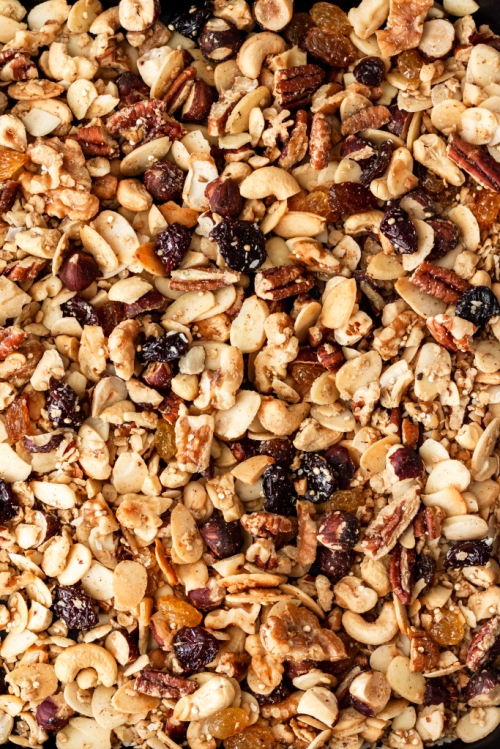
This granola recipe boasts all things Christmas – warm spices, toasted nuts, jeweled cranberries…and brown butter – the best part. Grab a few small mason jars and fill ’em up, tie some bows and get ready to have a handful of new best friends.
Alright, less talk, more granola.

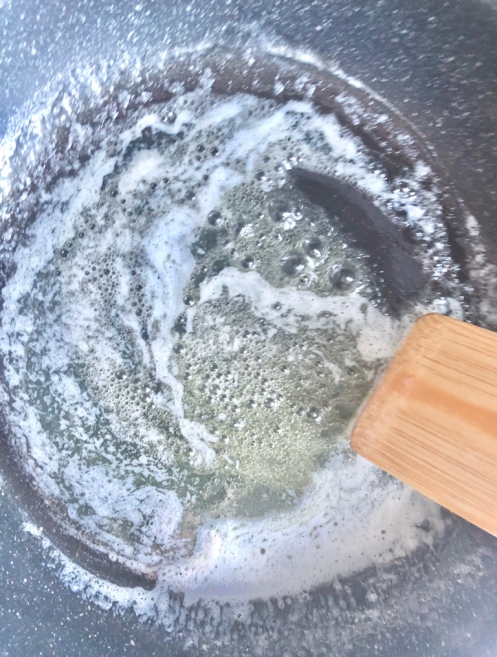
First step: Make the brown butter. Add a quarter cup of cold butter to a pan over medium-low heat. Let the butter foam up and become fragrant, stirring often.
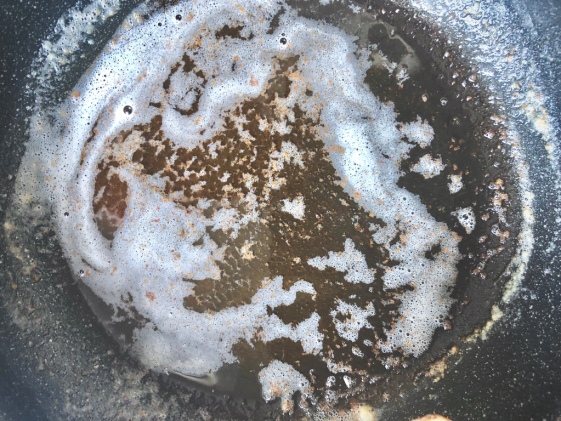
It will begin to develop brown bits on the bottom of the pan (5 minutes or so) – remove from heat and let cool (put it in the fridge or freezer to speed up this process).
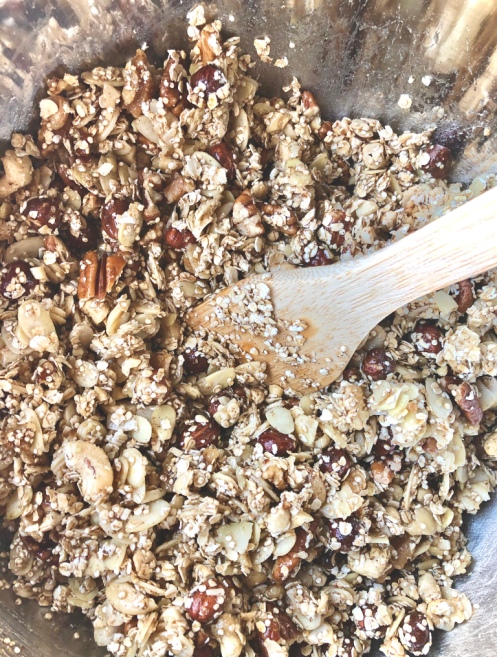
Secondly: Grab the biggest bowl you own. We’re not messin’ around.
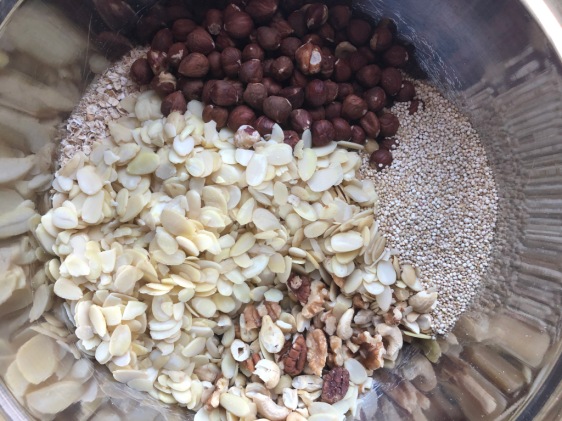
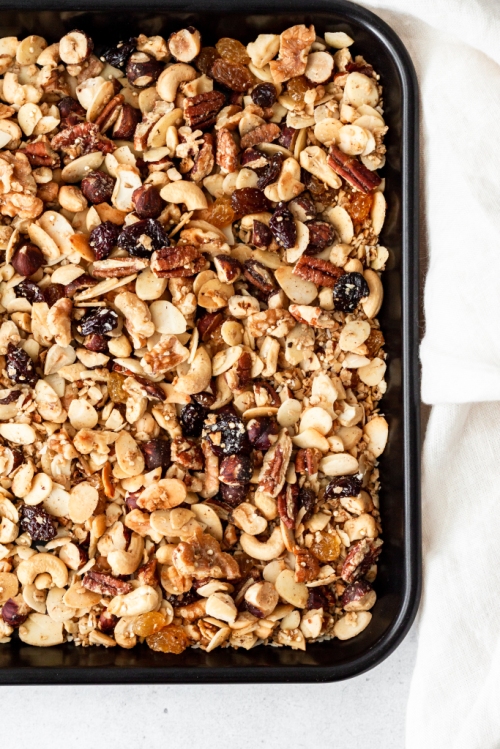
Dump in 2 cups of rolled oats, 6 cups of your favourite types of nuts (I do one cup pecans, one cup walnuts, one cup cashews, two cups slivered almonds and one cup hazelnuts) and half of a cup of quinoa. Set aside.
Next: In a small measuring cup, whisk together three-quarters of a cup of maple syrup, the cooled brown butter, half a teaspoon vanilla, half a teaspoon cinnamon and a quarter of a teaspoon of nutmeg.
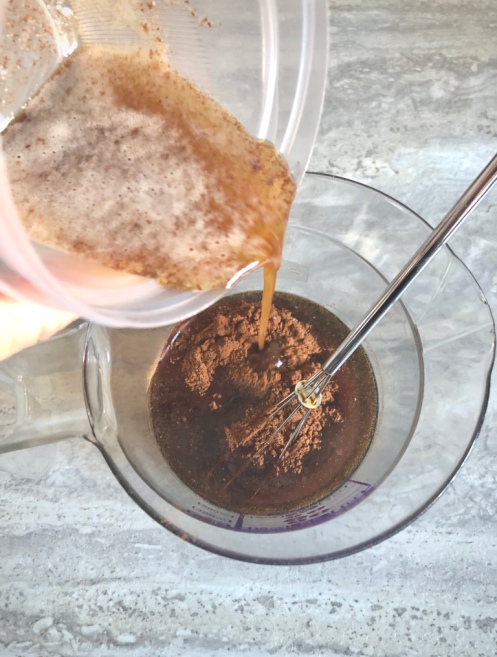
Pour over the nut mixture and stir, making sure everything is coated nicely.
Transfer to a baking sheet that is lined with aluminum foil and bake in a 375 degree oven for 30-35 minutes, stirring often to prevent burning. Add large coconut flakes for the last two minutes of baking. Remove from oven and add some golden and sultana raisins as well as a handful of dried cranberries and a bunch of flaky sea salt. Cool for twenty minutes before putting into jars or storing in airtight containers.
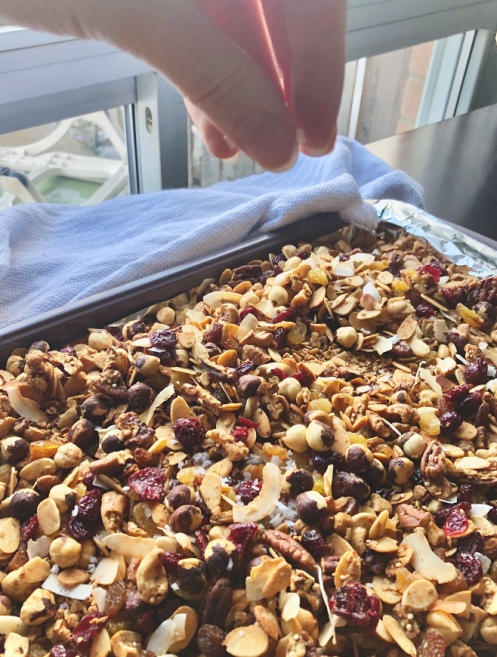
*I highly recommend using heavy duty aluminum foil for this as thinner foil can rip easily when you are stirring the granola. No one likes tin flakes in their food!
Brown Butter Nutty Granola
Yield: 8 cups
Prep time: 10 minutes
Cook time: 35 minutes
Ingredients:
- 1/4 cup cold butter
- 2 cups quick (or rolled) oats
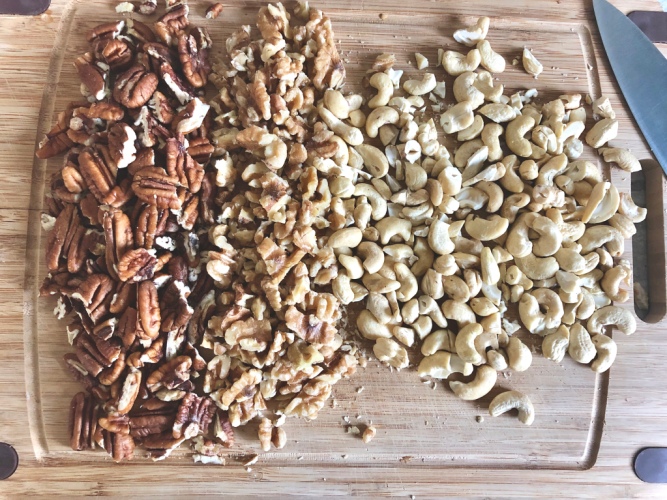
- 1 cup pecans, rough chop
- 1 cup walnuts, rough chop
- 1 cup cashews, rough chop
- 2 cups slivered almonds
- 1 cup hazelnuts, rough chop
- 1/2 cup raw quinoa
- 3/4 cup pure maple syrup
- 1/2 teaspoon vanilla
- 1/2 teaspoon cinnamon
- 1/4 teaspoon nutmeg
- 1/2 cup large flake coconut
- 1/3 cup sultana raisins
- 1/3 cup golden raisins
- 1/3 cup dried cranberries
- 1/2 tbsp – 1 tbsp flaky sea salt
Instructions:
- Add butter to a medium-sized pan over medium-low heat. Cook, stirring often, until you see brown bits begin to form on the bottom of the pan (about 5 minutes). Remove from heat immediately and cool completely (speed up cooling process in fridge or freezer). Do not burn the butter!
- Preheat oven to 375 degrees Fahrenheit and line a large baking sheet with heavy duty aluminum foil.
- In a very large mixing bowl, add the oats, nuts and quinoa.
- In a small measuring cup, measure out the maple syrup. Add the cooled brown butter, vanilla, cinnamon and nutmeg and whisk until combined. Drizzle over the nut mixture and toss until everything is coated. Spread evenly on the foil-lined baking sheet. Bake granola in oven for 35 minutes, stirring frequently to avoid burning. During the last five minutes, add the flaked coconut. The granola is ready when everything is a golden brown colour.
- Remove from oven and add the raisins, cranberries and sea salt to taste (don’t skip the salt!!!).
- Let cool completely before storing in an airtight container.
The post Brown Butter Nutty Granola appeared first on Never. Not. Eating..
]]>