The post How to Create the Perfect Smoothie Bowl appeared first on Never. Not. Eating..
]]>
There’s just something about a creamy, texture-perfect bowl in the morning. It’s art, really.
Do you follow any of the most popular smoothie bowl accounts on Instagram? Their dreamy posts show the blending, spooning and topping of amazingly colourful, smooth and creamy bowls. This post is meant to teach you how to achieve a smoothie bowl that mimics that perfect texture and all of the other hacks that go along with creating the ultimate smoothie bowl, including product recommendations and links.
HOW TO CREATE THE PERFECT SMOOTHIE BOWL – TEXTURE
TEXTURE is one of the most important things about a smoothie bowl. Not too soupy so that it doesn’t support all of your delicious topping choices, and not too stiff so that it is “nice cream.” We are looking for that glorious in-between stage.

And here’s how: Choose a high-powered blender. The Vitamix is ah-mazing. I also love the Ninja food processor. This is really important as it needs to be able to pulverize frozen fruit.
CHOOSING THE RIGHT FRUITS
Secondly, choose fruits that “cream-up” well. Bananas (obviously) are the #1 choice. However, if for some reason you can’t have bananas, mangos are an excellent alternative. I buy fresh bananas, wait until they are slightly overripe and brown (but super sweet) and then peel them, cut them in half and freeze them. You can also cut them into rounds, but it’s much easier to know how much you are putting in if they are halved.
THE ADD-INS
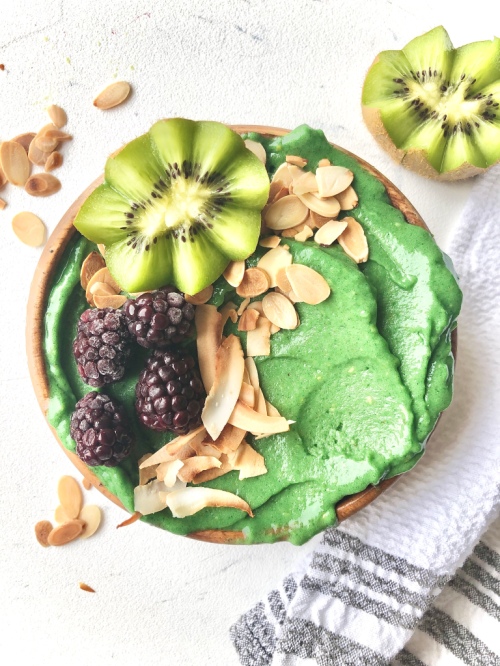
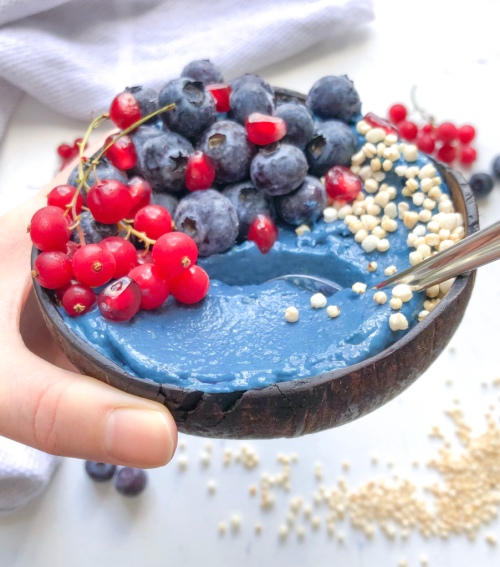
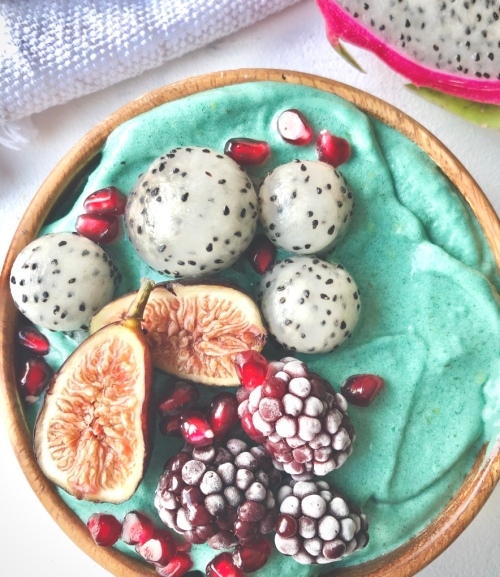
Add your frozen fruit choices to a blender/processor with all of your favourite superfoods. I have tried, tested and loved the following – Purple Sweet Potato Powder, Activated Coconut Charcoal, Maca Powder, Blue Spirulina Powder, and Green Spirulina Powder. Usually I choose two or three of them to add in one smoothie bowl. One colourful powder, one protein powder and Maca. Always.
BLEND IT UP!
Once you have your fruit and superfoods ready to go, pulse the blender a few times to start breaking up the fruit. Afterwards, blend on high, and while blending, slowly pour in the tiniest amount of non-dairy milk. This is the tricky part, as too much milk will make it too loose and none at all will make it nice cream (which is good, too). I would say start with one tablespoon and judge from there!
At this point, you need to continuously stop the blender to scrape down the sides of your bowl. Keep doing this until everything is well combined and smooth. Have faith in your smoothie…it will come together. Just do not over-mix as this will also loosen the texture.

HOW TO CREATE THE PERFECT SMOOTHIE BOWL – TOPPINGS
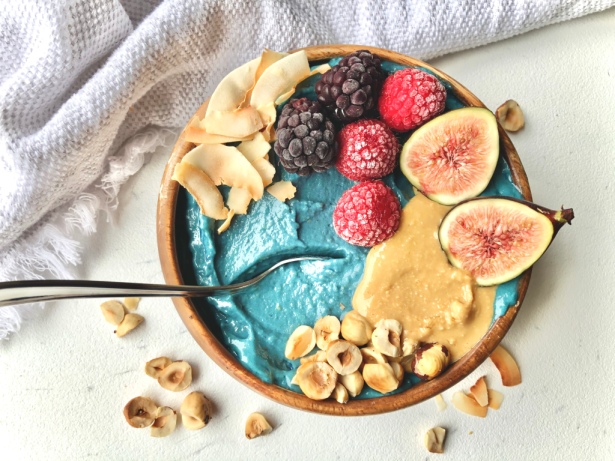
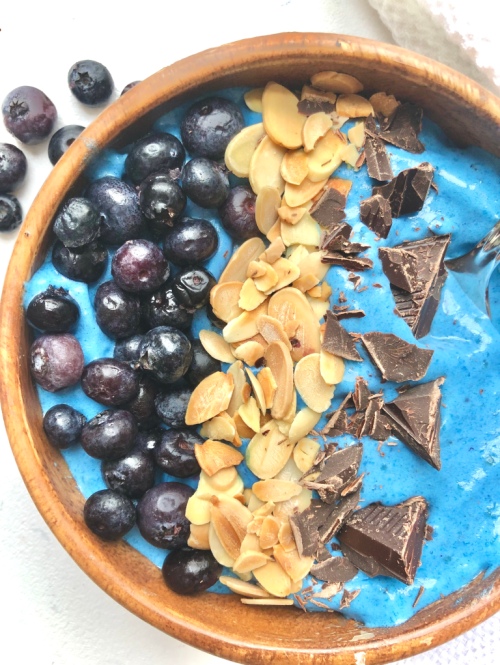
When you have achieved the ultimate smoothie consistency, pour your art into a beautiful bowl and top with all of your favs. My tried and true recommendations are as follows: Hemp hearts, chia seeds, hazelnuts, frozen berries, homemade peanut butter, slivered almonds, granola and coconut flakes.

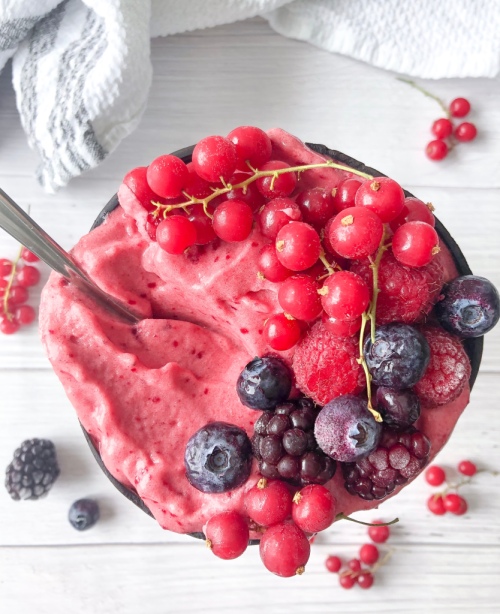
THE FROSTED BERRY LOOK
One of the most popular toppings you will see in Instagram photos are frozen berries. They develop this gorgeous pale-white layer on their surface after you remove them from your freezer and let them hang out on the counter for a few minutes. Some tricks to achieving this look that I have found work for me are:
- Not washing your berries before freezing them (either buy organic or wash AFTER you take pictures…hehe)
- Do not stack berries on top of each other in their container in the freezer- just one single layer is best
- Leave them in your freezer for longer than 24 hours to achieve this look
- After a day or two in your freezer, remove them for about 10-15 minutes (don’t use them) and then put them back into your freezer…the next time you pull them out, they will be perfect!
- When plating, use food tweezers to place carefully – the warmth of your fingers will melt the spots you touch

Now take some pictures and grab a spoon!

I hope this post helps you achieve your ideal smoothie bowl. Here is an example of a pretty standard recipe that I use when creating my own. Enjoy!
How to Create the Perfect Smoothie Bowl – Mauve Smoothie Bowl
Servings: 2
Prep time: 5 minutes
Ingredients:
- 2 frozen bananas
- 1/2 cup frozen mango
- 1 tbsp vanilla protein powder
- 1 tsp maca powder
- 2 tsp Purple Sweet Potato Powder, optional (you can replace with your favourite superfood powder)
- splash non-dairy milk
Instructions:
- To a high-speed food processor or blender, add frozen fruit, protein powder, maca and superfood powder. Pulse a few times and then blend. While blending, drizzle in the non-dairy milk. You only need a tiny amount. Blend until everything is combined and smooth, scraping down the sides a few times as it comes together.
- Transfer to a bowl and add toppings of your choice. Enjoy!
The post How to Create the Perfect Smoothie Bowl appeared first on Never. Not. Eating..
]]>The post Matcha Latte appeared first on Never. Not. Eating..
]]>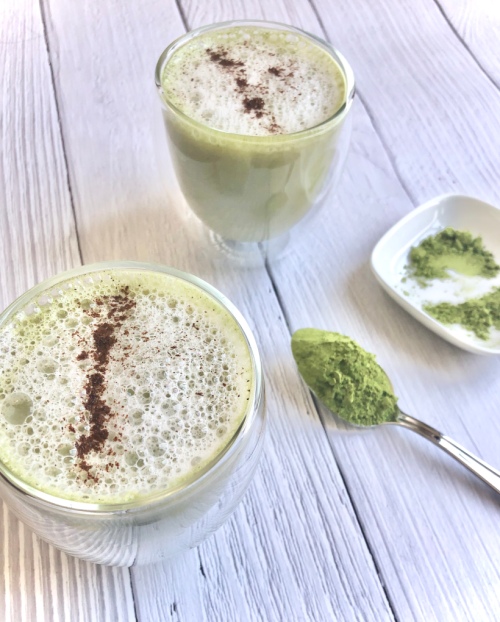
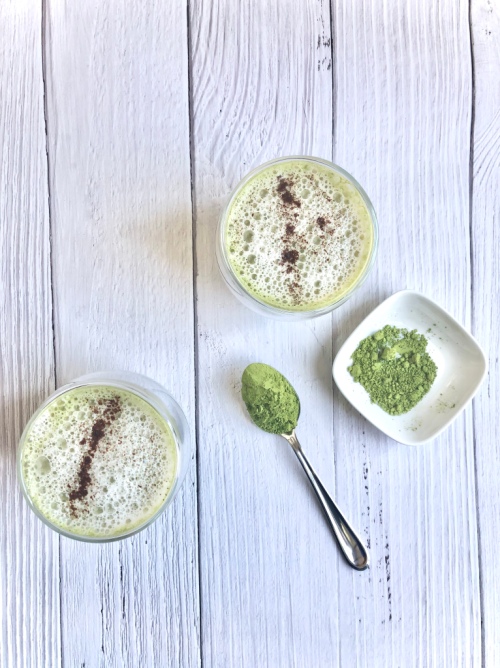
Matcha is basically green tea that has been ground up into a fine powder. It is rich in antioxidants, fibre and vitamins and has countless other health benefits. Personally, I find that it tastes nothing like green tea, but has a more citrusy tone. If you haven’t had it before, you will likely want to add a bit of sweetness to cut through the bitterness and grassy taste. I like to add honey to mine, but if you are vegan, you can add maple syrup or agave.

When I first started making these lattes, I lacked technique, BIG time. The matcha wasn’t absorbing into the liquid as well as I had hoped, despite the arm workout from stirring for so long. I struggled to get the milk the perfect texture to make for a creamy, lucious drink…and it just tasted bad.
I’m no quitter though. And, since I was looking to fulfill an Amazon craving, I purchased a few things that have helped me improve my matcha game. Firstly, highly rated matcha powder, found here. The powder itself is fairly pricey regardless of where you shop, but I found this company to be fair for the quality of the product I was getting.
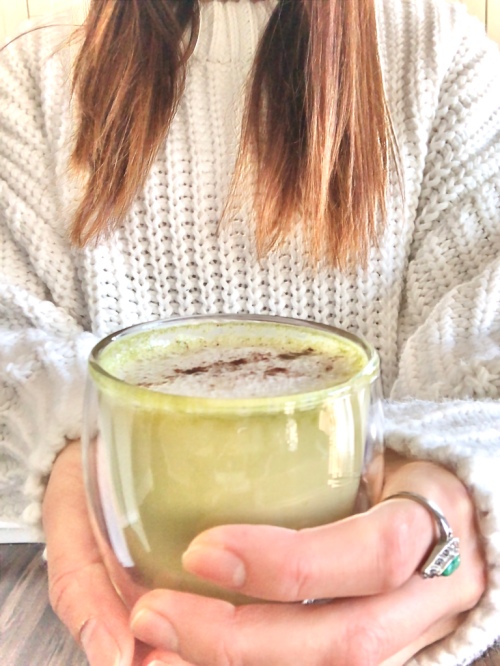
Secondly, to perfect my milk game, I purchased a basic milk frother. This little trinket has brought me unfathomable joy. It makes the milk creamier and more aesthetically pleasing when added to the top of the latte. It’s the simple things, really. Plus, twenty bucks for it on Amazon is a steal!
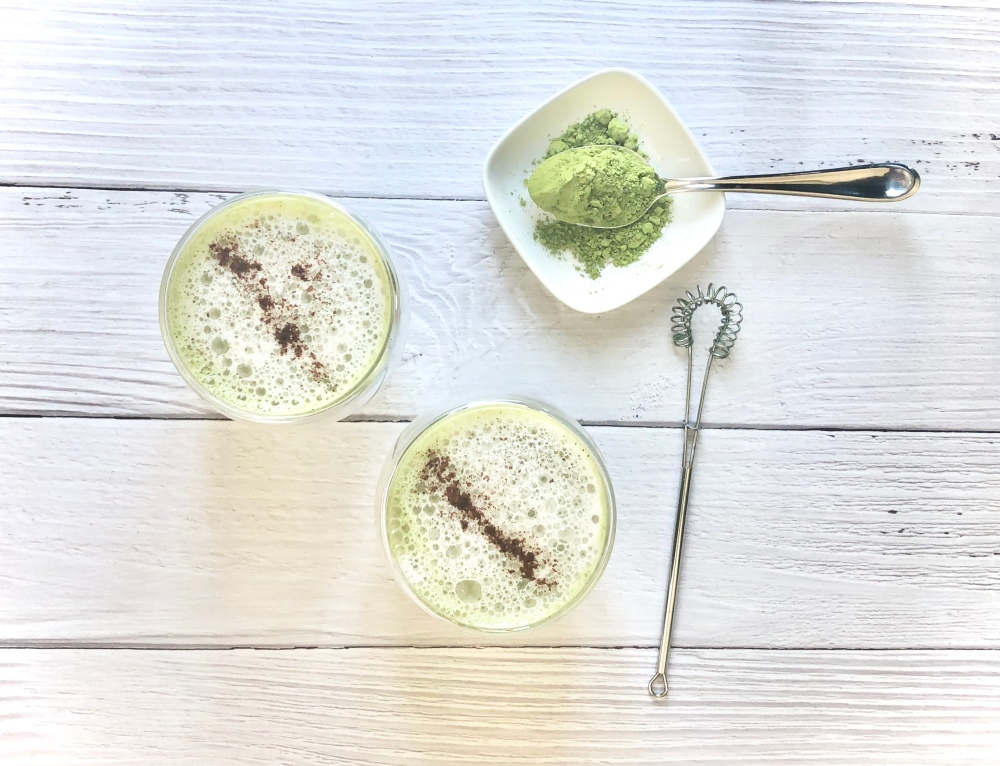
One final item that you may consider purchasing, if you are an everyday-matcha-drinker, is a matcha whisk. It is specially manufactured to help incorporate the matcha powder into the liquid that you are using, without any sediment left behind.
Alright, now that I’ve spent matcha my money purchasing helpful equipment, it’s time to perfect this drink!
Peace out, coffee. I’ve found a new matcha.
It’s a matcha made in heaven.
Matcha Latte
Serving size: 1 large mug
Prep time: 1 minute
Cook time: 5 minutes
Ingredients:
- 1 1/4 cup non-dairy milk (I prefer cashew)
- 1 tsp. matcha powder
- 1/4 cup boiled water
- 1 tsp. honey (or any sweetner of your choice), optional
- Pinch of cinnamon, optional
Instructions:
- Pour your milk into a heat-proof pitcher and place on a burner over medium-high heat until it begins to steam. You can also do this step in the microwave, using a glass bowl/measuring cup, or with an actual milk steamer on a professional coffee machine.
- In a bowl, use a matcha whisk (or a regular whisk) to mix together the matcha powder with the boiled water. Do this for a while (about 30-40 seconds) to ensure the powder fully incorporates. Transfer to a large mug.
- Stir in the sweetner, if using.
- Use a milk frother to foam up the steamed milk for about 20 seconds. Pour into the mug and top with cinnamon, if desired.
NOTES:
If you do not have a matcha whisk, beat the matcha with your milk frother on a low speed to help it dissolve into the water before adding the sweetener and milk.
The post Matcha Latte appeared first on Never. Not. Eating..
]]>The post Shakshuka appeared first on Never. Not. Eating..
]]>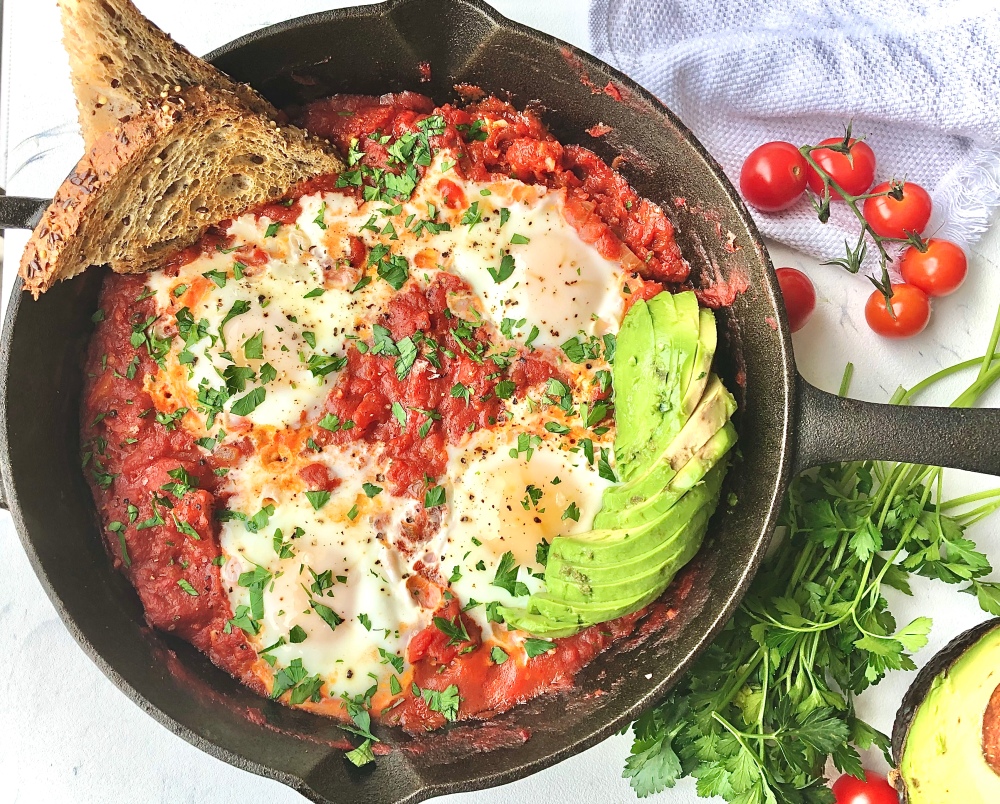
I’ve been really diggin’ Middle Eastern cuisine lately, and shakshuka is something that has been on rotation in my kitchen for a while now. It is basically eggs poached in a spicy tomato sauce served with crusty bread for dipping. And I’m not mad about anything that I can dip into.
There are many places where shakshuka can be found on every corner, and one that has been inspiring me lately is Israel. Does anyone want to go with me?? I’m patiently waiting for the school year to be over so I can hop on a plane and land in Tel Aviv where I will devour all of the deliciousness that derives from this up and coming city.
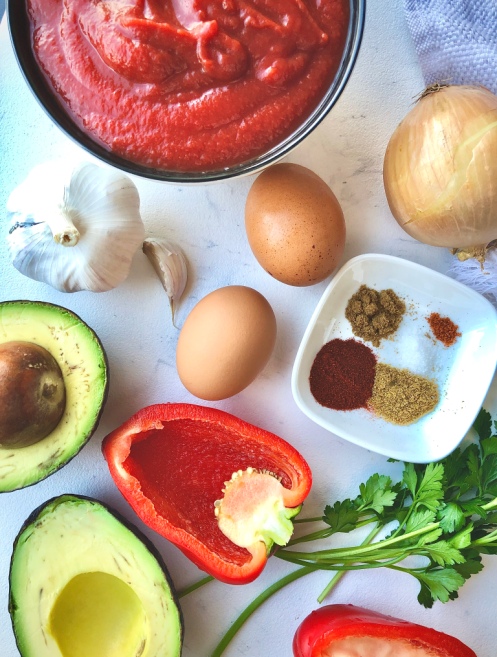
Shakshuka is so simple and easy. It’s onions and bell pepper, sauteed with garlic and traditional middle-eastern spices, like cumin, coriander, paprika and cayenne, and simmered in a tomato sauce. Make a few wells in the sauce, crack a few eggs, let them cook to your liking and you have breakfast. Or brunch. Or lunch or dinner. Good for a friendly gathering, too. You can’t limit shakshuka…Don’t even try.
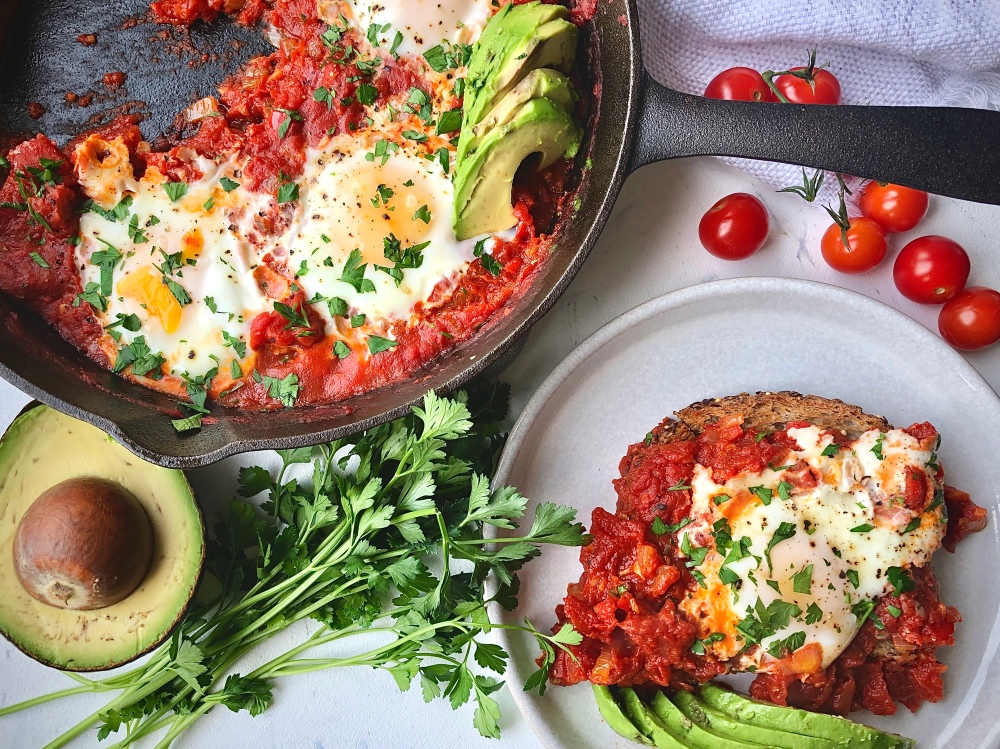
Did I mention that all of this delightfulness is made in ONE cast iron pan. Yup. I love an easy clean.
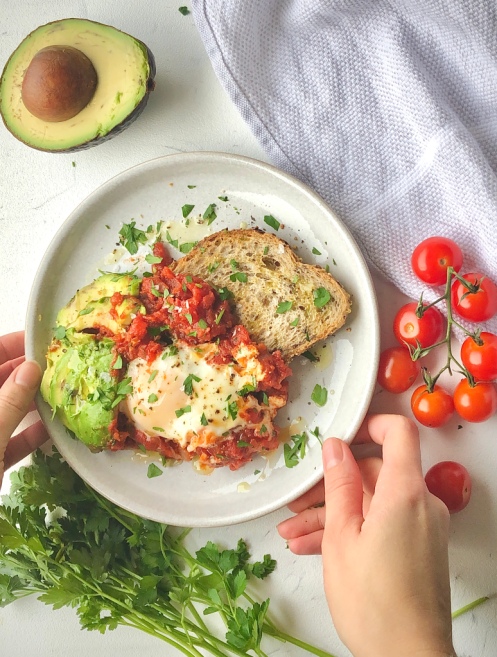
Toppings: You know I’m the topping queen. If I can find more food to put onto a dish full of food than I’m a happy girl. I like to add creamy avocado slices, a crusty sourdough bread for dipping, fresh parsley and flaky sea salt on top of my shak. Feta is also a badass addition.
Shakshuka
Servings: 3-4
Prep time: 5 minutes
Cook time: 30 minutes
Ingredients:
- 2 tbsp olive oil, plus more for drizzling
- 1/2 of an onion, diced
- 1/2 of a red bell pepper, seeded and finely diced
- 2 cloves of garlic, finely chopped
- 1/2 tsp cumin
- 1/2 tsp paprika
- 1/4 tsp coriander
- pinch of cayenne (optional)
- 1 cup crushed tomatoes
- 1 cup canned diced tomatoes (with their liquid)
- 4 large eggs
- salt
- fresh black pepper
- parsley
- avocado (optional)
- toasted, crusty bread (I prefer sourdough), for dipping
Instructions:
- Heat olive oil over medium heat in a cast iron skillet. Add the onion and saute for a minute. Add the bell pepper and continue to cook for about 10 minutes, or until onion starts becoming translucent and just slightly browned around the edges.
- Add the garlic, cumin, paprika, coriander and cayenne. Toast until fragrant, about one minute.
- Pour in the crushed and diced tomatoes, a pinch of salt and a few grinds of fresh black pepper. Let simmer for 15-20 minutes. The sauce will lose a lot of its water content and it will thicken up.
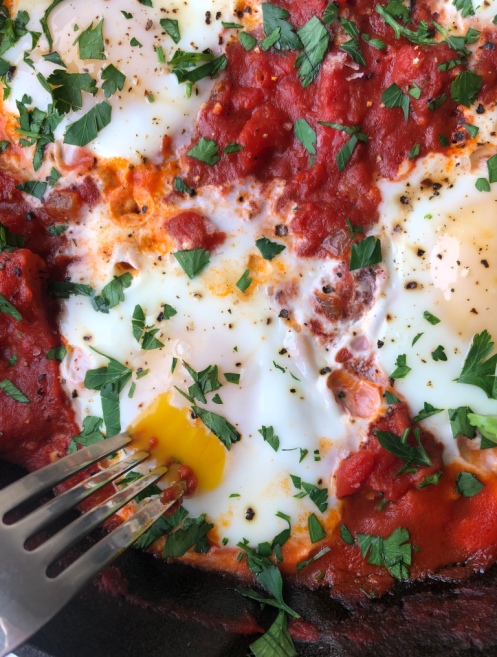
- Make 4 wells in the sauce and crack an egg into each one. Turn the burner down to medium-low, cover the skillet and cook for 3-5 minutes, or until eggs are cooked to your liking.
- Turn heat off and sprinkle with fresh parsley, a few more grinds of pepper and flaky sea salt. Add avocado slices and eat with your favourite crusty bread.
The post Shakshuka appeared first on Never. Not. Eating..
]]>