The post Caramelized Peach and Pecan Oatmeal appeared first on Never. Not. Eating..
]]>
Alright, I’m taking full advantage of the local produce, here in Southern Ontario. We have amazing peaches during the summer months and I’m using them today to make this caramelized peach oatmeal. Typically, I don’t eat oatmeal very often, but when I do, it needs to be topped with nuts, fruit and maple syrup. Otherwise, I won’t eat it.

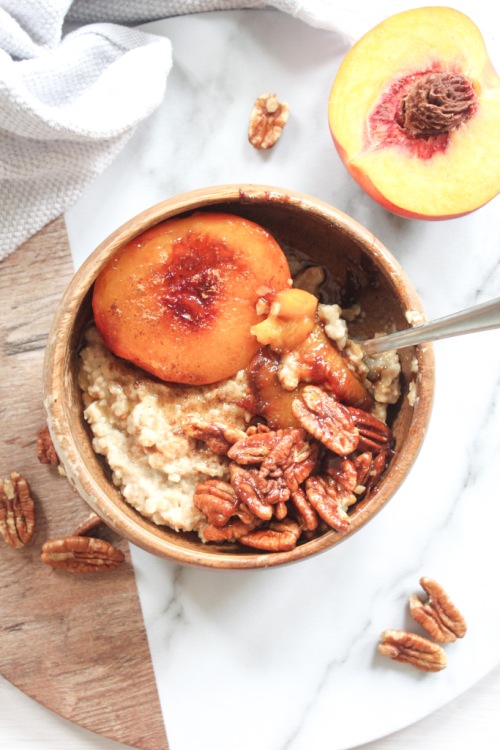
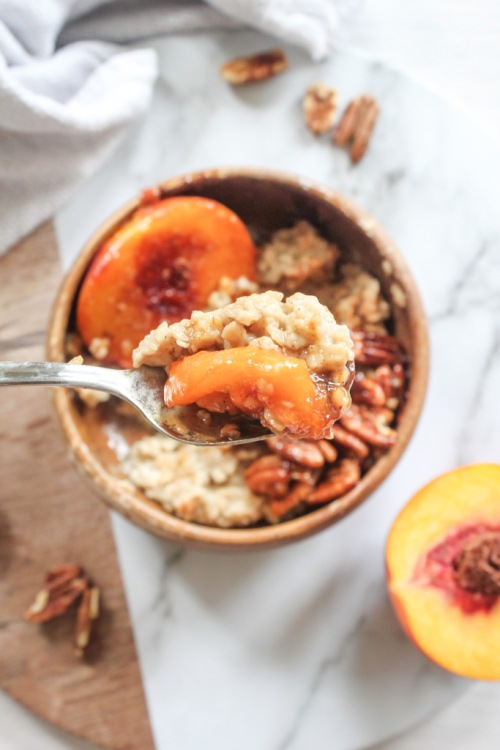
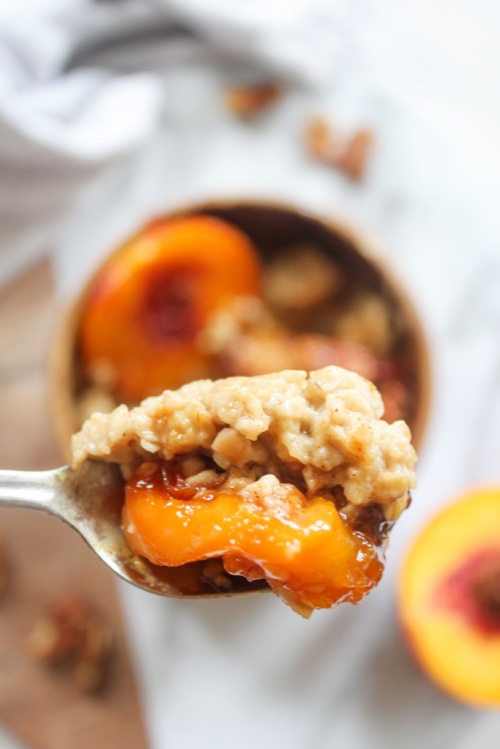
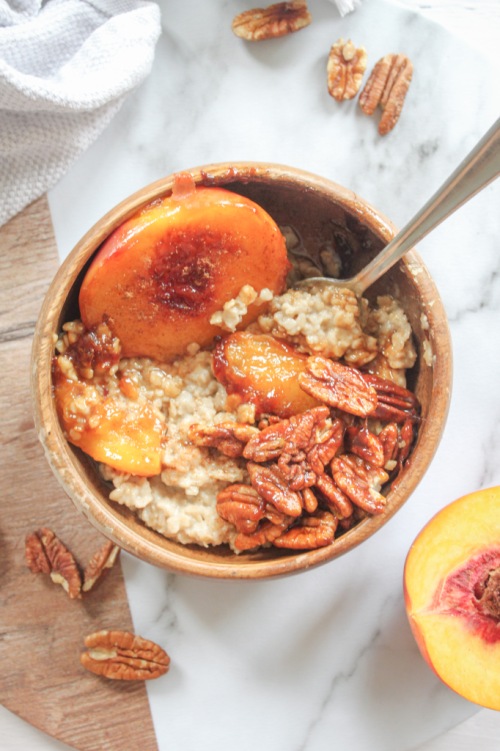
So today, I bring to you, my Caramelized Peach and Pecan Oatmeal. Creamy, spiced oatmeal with soft, tender peaches and sticky maple pecans. YUM.
Let’s talk oatmeal. Because I don’t drink cow’s milk, I always make my oatmeal with plant-based milk. You can check out my Homemade Cashew milk, here. This is a really great milk choice for this recipe as it is creamy and flavoured with vanilla. Otherwise, you can use almond milk, soy, oat, or even water. Whatever you have on hand!

The best part of this recipe would have to be the toppings. Peaches and pecans are a match made in heaven. I have even seen whiskey with these two flavours infused…YUM. The peaches become soft and fork-tender when cooked down with maple syrup, some lemon juice and a pinch of salt. You could easily just eat these themselves.
Pecans are delicious naturally, but when coated in the sticky syrup, they are even better. Not to mention all of the benefits you get from eating pecans – good fats, tons of fibre, magnesium, iron and protein. Tree nuts are a vegans dream food.
Finally, I always like to top my oatmeal off with (yet another) drizzle of pure Canadian maple syrup and a pinch of cinnamon.
This one’s for you, oatmeal lovers!
Caramelized Peach and Pecan Oatmeal
Serving size: 1
Prep time: 2 minutes
Cook time: 5-8 minutes
Ingredients:
- 2/3 cup plant-based milk (check out my homemade cashew milk, here)
- 3/4 tsp cinnamon, divided
- 1/4 tsp nutmeg, divided
- salt
- 1/3 cup rolled oats
- 1 peach, sliced into wedges
- 1 tbsp lemon juice
- 2 tbsp maple syrup
- 1 tbsp butter or oil of choice
- 1/4 cup raw pecans
Instructions:
- Add milk, 1/2 tsp cinnamon, pinch of nutmeg and a pinch of salt to a small pot over medium high heat. Bring to a boil and add the oats. Stir, bring back up to a boil and then reduce heat to a simmer. Cook for 4-5 minutes, or until oats have absorbed most of the liquid and mixture has thickened.
- To a small bowl, toss the peach slices with the lemon juice, a pinch of salt, the remaining 1/4 tsp cinnamon, a pinch of nutmeg and the maple syrup.
- Add the butter or oil to a medium pan (or cast iron skillet) over medium-high heat. When butter is hot, add in the peach slices. Cook for 3 minutes and then add the pecans. Finish cooking when the slices are fork-tender, stirring occasionally, another 2-4 minutes.
- Scoop oatmeal into a bowl and top with the caramelized peaches and pecans. Top with extra maple syrup and a dash of cinnamon if desired.
The post Caramelized Peach and Pecan Oatmeal appeared first on Never. Not. Eating..
]]>The post How to Create the Perfect Smoothie Bowl appeared first on Never. Not. Eating..
]]>
There’s just something about a creamy, texture-perfect bowl in the morning. It’s art, really.
Do you follow any of the most popular smoothie bowl accounts on Instagram? Their dreamy posts show the blending, spooning and topping of amazingly colourful, smooth and creamy bowls. This post is meant to teach you how to achieve a smoothie bowl that mimics that perfect texture and all of the other hacks that go along with creating the ultimate smoothie bowl, including product recommendations and links.
HOW TO CREATE THE PERFECT SMOOTHIE BOWL – TEXTURE
TEXTURE is one of the most important things about a smoothie bowl. Not too soupy so that it doesn’t support all of your delicious topping choices, and not too stiff so that it is “nice cream.” We are looking for that glorious in-between stage.

And here’s how: Choose a high-powered blender. The Vitamix is ah-mazing. I also love the Ninja food processor. This is really important as it needs to be able to pulverize frozen fruit.
CHOOSING THE RIGHT FRUITS
Secondly, choose fruits that “cream-up” well. Bananas (obviously) are the #1 choice. However, if for some reason you can’t have bananas, mangos are an excellent alternative. I buy fresh bananas, wait until they are slightly overripe and brown (but super sweet) and then peel them, cut them in half and freeze them. You can also cut them into rounds, but it’s much easier to know how much you are putting in if they are halved.
THE ADD-INS
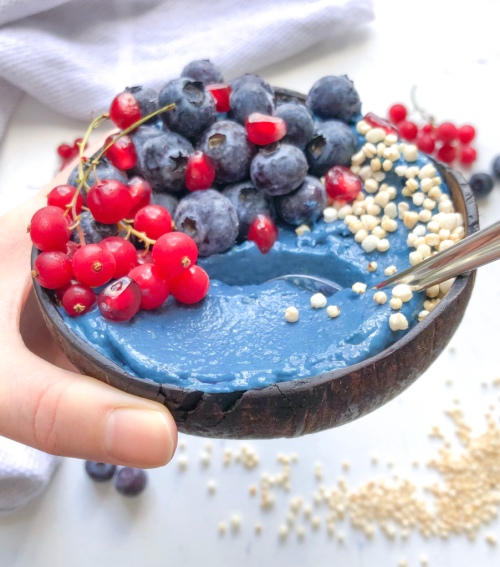
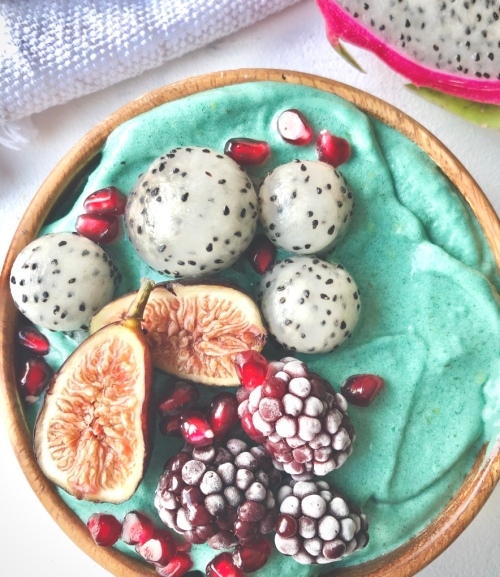
Add your frozen fruit choices to a blender/processor with all of your favourite superfoods. I have tried, tested and loved the following – Purple Sweet Potato Powder, Activated Coconut Charcoal, Maca Powder, Blue Spirulina Powder, and Green Spirulina Powder. Usually I choose two or three of them to add in one smoothie bowl. One colourful powder, one protein powder and Maca. Always.
BLEND IT UP!
Once you have your fruit and superfoods ready to go, pulse the blender a few times to start breaking up the fruit. Afterwards, blend on high, and while blending, slowly pour in the tiniest amount of non-dairy milk. This is the tricky part, as too much milk will make it too loose and none at all will make it nice cream (which is good, too). I would say start with one tablespoon and judge from there!
At this point, you need to continuously stop the blender to scrape down the sides of your bowl. Keep doing this until everything is well combined and smooth. Have faith in your smoothie…it will come together. Just do not over-mix as this will also loosen the texture.

HOW TO CREATE THE PERFECT SMOOTHIE BOWL – TOPPINGS
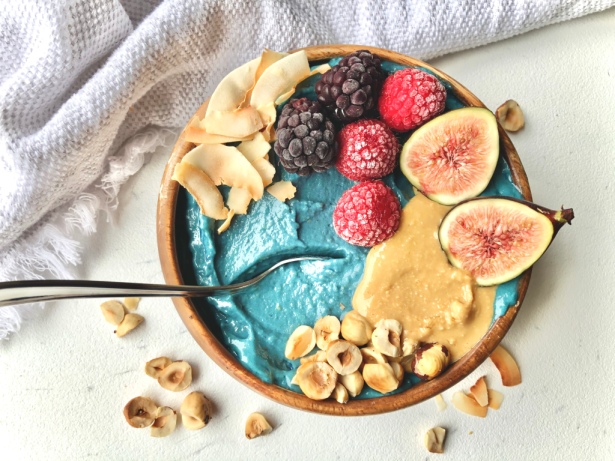
When you have achieved the ultimate smoothie consistency, pour your art into a beautiful bowl and top with all of your favs. My tried and true recommendations are as follows: Hemp hearts, chia seeds, hazelnuts, frozen berries, homemade peanut butter, slivered almonds, granola and coconut flakes.

THE FROSTED BERRY LOOK
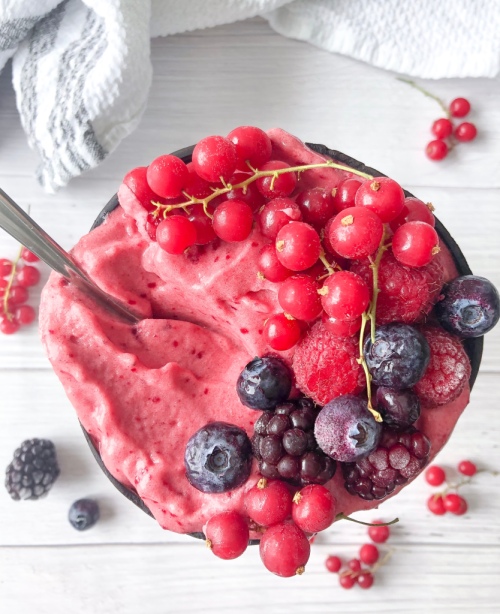
One of the most popular toppings you will see in Instagram photos are frozen berries. They develop this gorgeous pale-white layer on their surface after you remove them from your freezer and let them hang out on the counter for a few minutes. Some tricks to achieving this look that I have found work for me are:
- Not washing your berries before freezing them (either buy organic or wash AFTER you take pictures…hehe)
- Do not stack berries on top of each other in their container in the freezer- just one single layer is best
- Leave them in your freezer for longer than 24 hours to achieve this look
- After a day or two in your freezer, remove them for about 10-15 minutes (don’t use them) and then put them back into your freezer…the next time you pull them out, they will be perfect!
- When plating, use food tweezers to place carefully – the warmth of your fingers will melt the spots you touch

Now take some pictures and grab a spoon!

I hope this post helps you achieve your ideal smoothie bowl. Here is an example of a pretty standard recipe that I use when creating my own. Enjoy!
How to Create the Perfect Smoothie Bowl – Mauve Smoothie Bowl
Servings: 2
Prep time: 5 minutes
Ingredients:
- 2 frozen bananas
- 1/2 cup frozen mango
- 1 tbsp vanilla protein powder
- 1 tsp maca powder
- 2 tsp Purple Sweet Potato Powder, optional (you can replace with your favourite superfood powder)
- splash non-dairy milk
Instructions:
- To a high-speed food processor or blender, add frozen fruit, protein powder, maca and superfood powder. Pulse a few times and then blend. While blending, drizzle in the non-dairy milk. You only need a tiny amount. Blend until everything is combined and smooth, scraping down the sides a few times as it comes together.
- Transfer to a bowl and add toppings of your choice. Enjoy!
The post How to Create the Perfect Smoothie Bowl appeared first on Never. Not. Eating..
]]>The post Power Boosting Smoothie Bowl appeared first on Never. Not. Eating..
]]>
Last summer, I backpacked through Peru and discovered a vegetable called maca. If you’ve heard of it, you may know that, when consumed, it’s known to majorly enhance energy levels. It also helps to increase fertility, especially in men. The Peruvians swear by it. You NEED to try it.
Maca grows at high altitudes in the Andes and looks similar to a rounded-out ginger root. It is typically dried out and processed into a powder for consumption, but I have also seen it in pill form (Costco). After hearing about maca and learning about it’s magic, I loaded up on a few bags before flying out of Lima. There, it was super cheap to pick up. Here, not so much. I usually buy mine at the Bulk Barn and it is decently expensive, but a little bit goes a long way. You can also (obviously) find it on Amazon.
One more thing about maca, it’s a libido-booster people…So if you need a little help in that department…I meannn, you’re welcome.
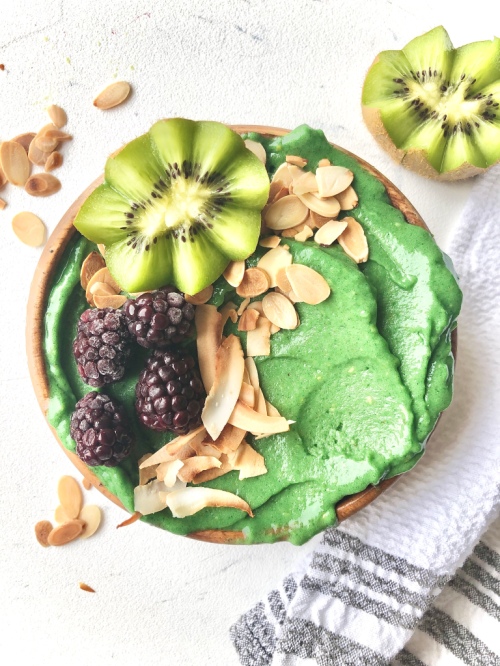
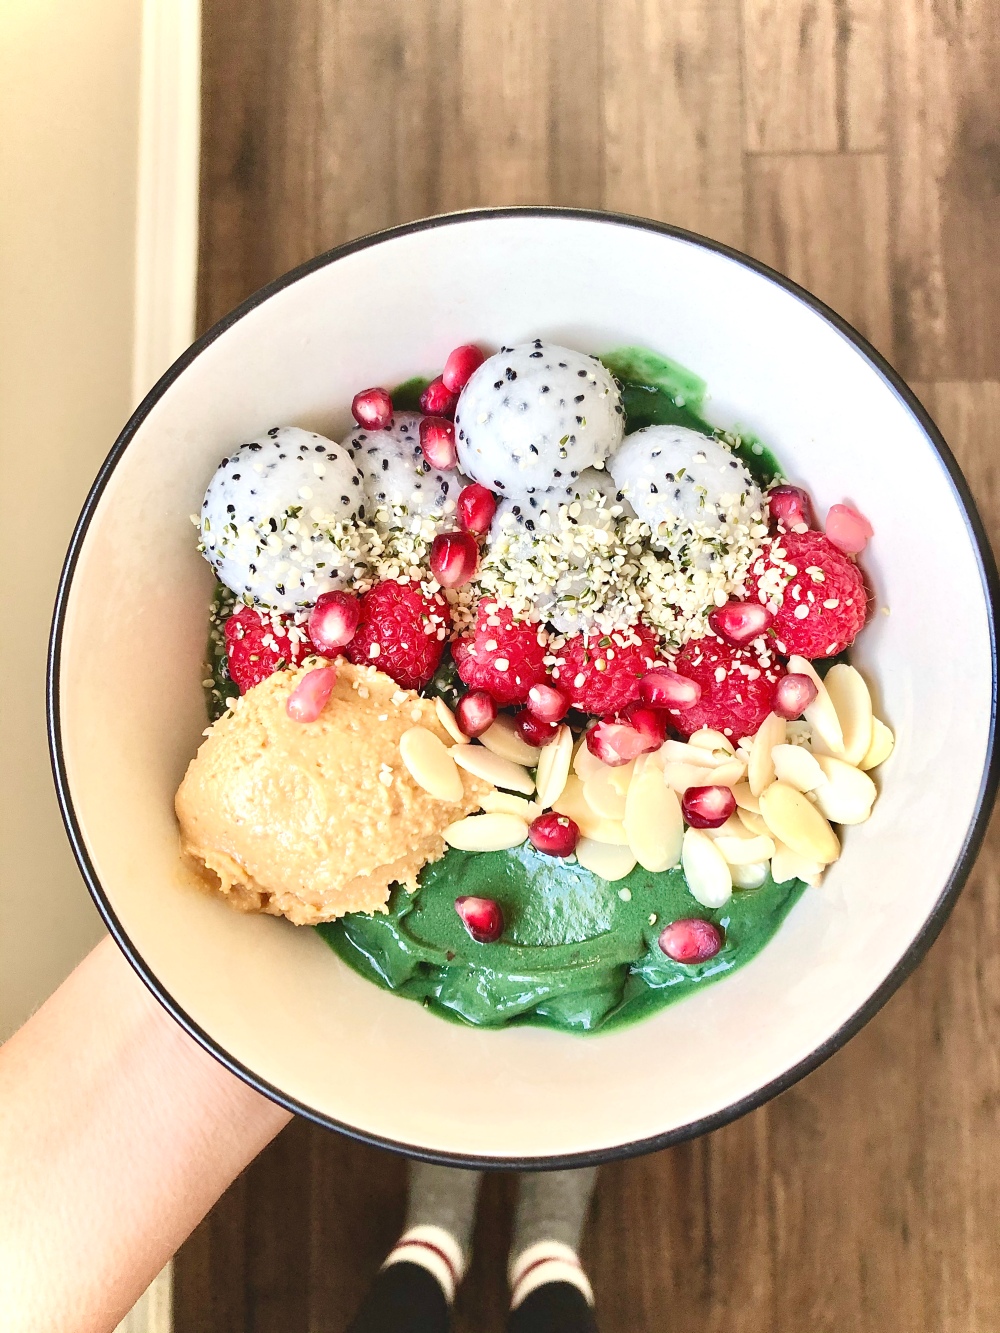
Moving along now. Superfood number two – Spirulina. Now this is the epitome of plant nutrition. Spirulina is a blue-green algae that again, is processed into powder-form (perfect for adding to smoothies or smoothie bowls, btw) and is jam-packed with the good stuff. The vitamins. The minerals. All of it. It will make you feel wonderfully alive and ready for all of the adult things that you must face throughout your day.
I must warn you though…it is unwise to put your nose anywhere near the opened container and breathe deeply. You will have major regrets. Don’t let the smell fool you though! You cannot at-all taste what your nose regretfully inhales…trust! Spirulina is also what gives it that pretty, vibrant green colour. I’ll admit – I originally bought it for the photos…not the health benefits. It’s cool, guys. It’s cool.

I buy my spirulina off of Amazon. You can find it here. I have also seen it for sale at Bulk Barn.
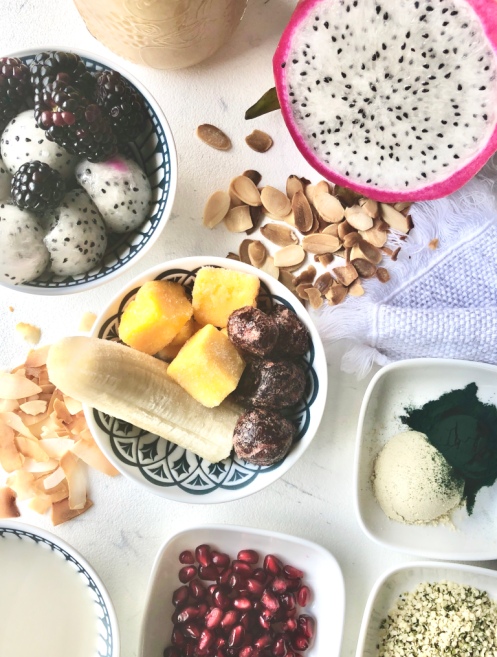
The rest of the ingredients are pretty basic. They are as follows:
- Frozen fruit (bananas, mangos and cherries)
- Protein powder (vanilla)
- Almond milk
- Preferred toppings (I like fresh fruit, hemp hearts, roasted nuts, pomegranate seeds, toasted coconut and peanut butter)
So basically, you throw the frozen fruit, superfoods, protein powder and almond milk into a food processor and blend until smooth. It has a similar consistency to “nice cream,” just slightly thinner. It’s everything wonderful, honestly.
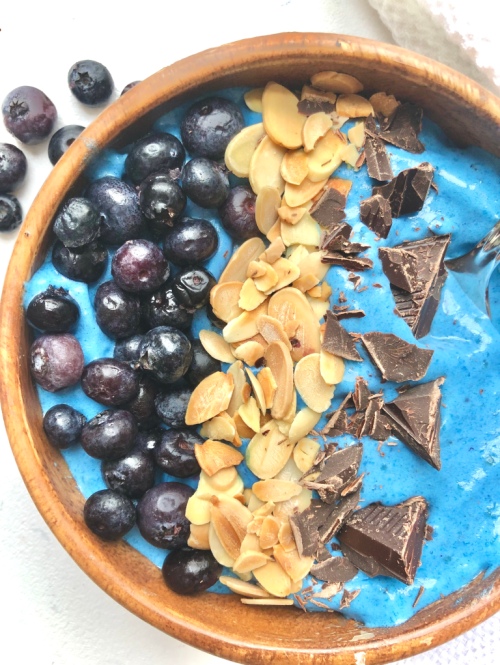
After blended, transfer to a bowl and top with all of your faves! Yet another opportunity to sneak a few more energy-boosting ingredients in. Some other options are: chia seeds for protein, good fats and fibre, granola for the ultimate crunch factor, and dark chocolate shavings because uhm..the antioxidants…fine, it’s because I don’t go a day without eating dark chocolate and you shouldn’t either.
Power Boosting Smoothie Bowl
Servings: 1
Prep time: 5 minutes
Cook time: 5 minutes
Ingredients:
- 1/2 frozen banana
- 3-4 frozen mango chunks
- 3-4 frozen cherries
- 1 tsp spirulina powder
- 1 tsp maca powder
- 1 tbsp protein powder
- 2 tbsp almond milk (or any non-dairy milk)
- Toppings of choice (nuts, seeds, fresh fruit, nut butters, coconut, granola, etc.)
Instructions:
- Add frozen fruit and powders to a food processor and pulse a few times to break up. Turn on the motor and blend on low speed, slowly drizzling in the milk.
- Blend until the mixture is smooth, scraping down the sides as necessary. Transfer to a bowl.
- Add your choice of toppings and you’re done!
The post Power Boosting Smoothie Bowl appeared first on Never. Not. Eating..
]]>